Showing posts with label progress. Show all posts

Monday, 31 July 2017

Little bathroom

I'm hopelessly behind on updates here. Little baby, no time!

The little bathroom is very close to "finished". Here we stand:


More, perhaps, another time!

Saturday, 25 February 2017

Small bathroom progress

It's been a while since I posted about this, and there has been a lot of progress.

The galleries I managed to "make work" here in terrible, terrible Blogger look like they're actually getting worse every day! I have added some captions to the images but they only show over the thumbnails in ALL CAPS now, wtf?

In any case, what Pim has been working on (I am really not doing anything of this anymore, I am due to give birth any day now):

  • Put up electricity for aseo, laundry & kitchen
  • Pipes for aseo & kitchen
  • Tap fittings for aseo
  • Drains for aseo, laundry & kitchen (lots of cutting and digging into the floors here!)
  • Plasterboards for aseo, laundry & kitchen
  • Self-levelling screed / compound / mortar for aseo floor which was very uneven 
  • And he's also been re-setting the tiles on the mesh since I couldn't bend over anymore!

Sunday, 10 April 2016

Dining room platform

We are still on a new window high! but new work has started in the kitchen-dining room. The dining room will be raised on a platform at the back of the room, due to the structure of the building and the incline of the terrain. It used to be a shed, divided from the rest of the structure by a wall, and higher up. All those walls are now gone but the raise remains, when everything is levelled up nicely, the difference will be 30 cm so we need two steps leading up from the kitchen.

Pim's dad started building the steps with recycled bricks, I thought he went incredibly fast!


The gaps will be filled with cement and rubble (boy don't we have rubble), and then the floor evened out with a runny cement mix. Then tiles, but not before the walls and their corresponding mess are done.

Pim has still been digging the terrace outside, and I could barely move due to my sciatica flaring up, but managed to shuffle around some pots and seeds now that spring is here.

Tuesday, 5 April 2016

Kitchen window post

This post was a long way coming. Since I have a lot of images to post, I have been experimenting with some code added to the blogger template in order to have galleries to display the images. It is very clunky but it does the job. I should seriously consider importing this blog into my main website blog, but I have to think how and if I'd still like to keep it more separated.

Meanwhile, let us continue.

It has been cold, wet, and miserable. January and February are not pleasant to work around outside here. Luckily Pim and his father do not seem to mind too much, I have bad joints and I just can't work in these conditions, so besides a coat of paint in a small surface while wearing a Peruvian oversize pullover (what a wuss right?) I have done nothing of this project until the windows were in. By March however I have started gardening ;P

In the gallery below we pick up where we left in the last post:

  • Sliding door beam concrete-d, bricks removed, edges redone. First time we can really see some of the garden from the house. In this case, a big pile of bricks :D
  • Dining room window (where the shed door used to be) beam placed and concrete-d, bricks removed to widen, bricks added to make door into window, edges redone.
  • Bit of wall where the radiator goes gets painted, green of course, and the radiator put up (it was in the way, this is one very large and 100 kg heavy motherfucker).
  • Existing door widened, some bricks added between the pre-existing door and window for a stronger structure.
  • Existing window narrowed and lowered to be as low as the kitchen counter.
  • Outer windowsill stones (Belgian blue sandstone) placed. Some of these are very heavy... unlike other windowsills in the house, we had them delivered, but Pim and his dad installed them. I was able to help moving a couple ;P
  • Threshold stones placed, same as above.
  • After some delay, windows, door and sliding door/window? placed by the window guys today!
  • And now PHEW!
And now, onto other kitchen things... walls, floor, insulation...

Tuesday, 11 November 2014

Picture dump

I'll edit this later because blogger is giving me lots of grief today.
...

Edited to add captions.

This is the "box" Pim made to hide the cables.
The roof in the next room is much lower, and there are
lots of cables, and we thought this to be the best solution.
Here, shown with a layer of green "primer".
We actually just used a green paint that was on offer.

Supervisor

Pim's dad has been working a lot on the back building.
It's cold in there :( there is no heating yet, but he is
putting up all this insulation and closing the gaps.

There was a gas "bias" chimney in here, and no tiles underneath, unfortunately.
Pim filled the sandy hole with concrete. It will mostly be covered by furniture.
This was and will temporarily be the kitchen, and a living room at a later time.

Covering bricks with plaster in the laundry corner.

The laundry corner's other... corner. Already with water
collectors and beginning of outlets.

Lots of progress

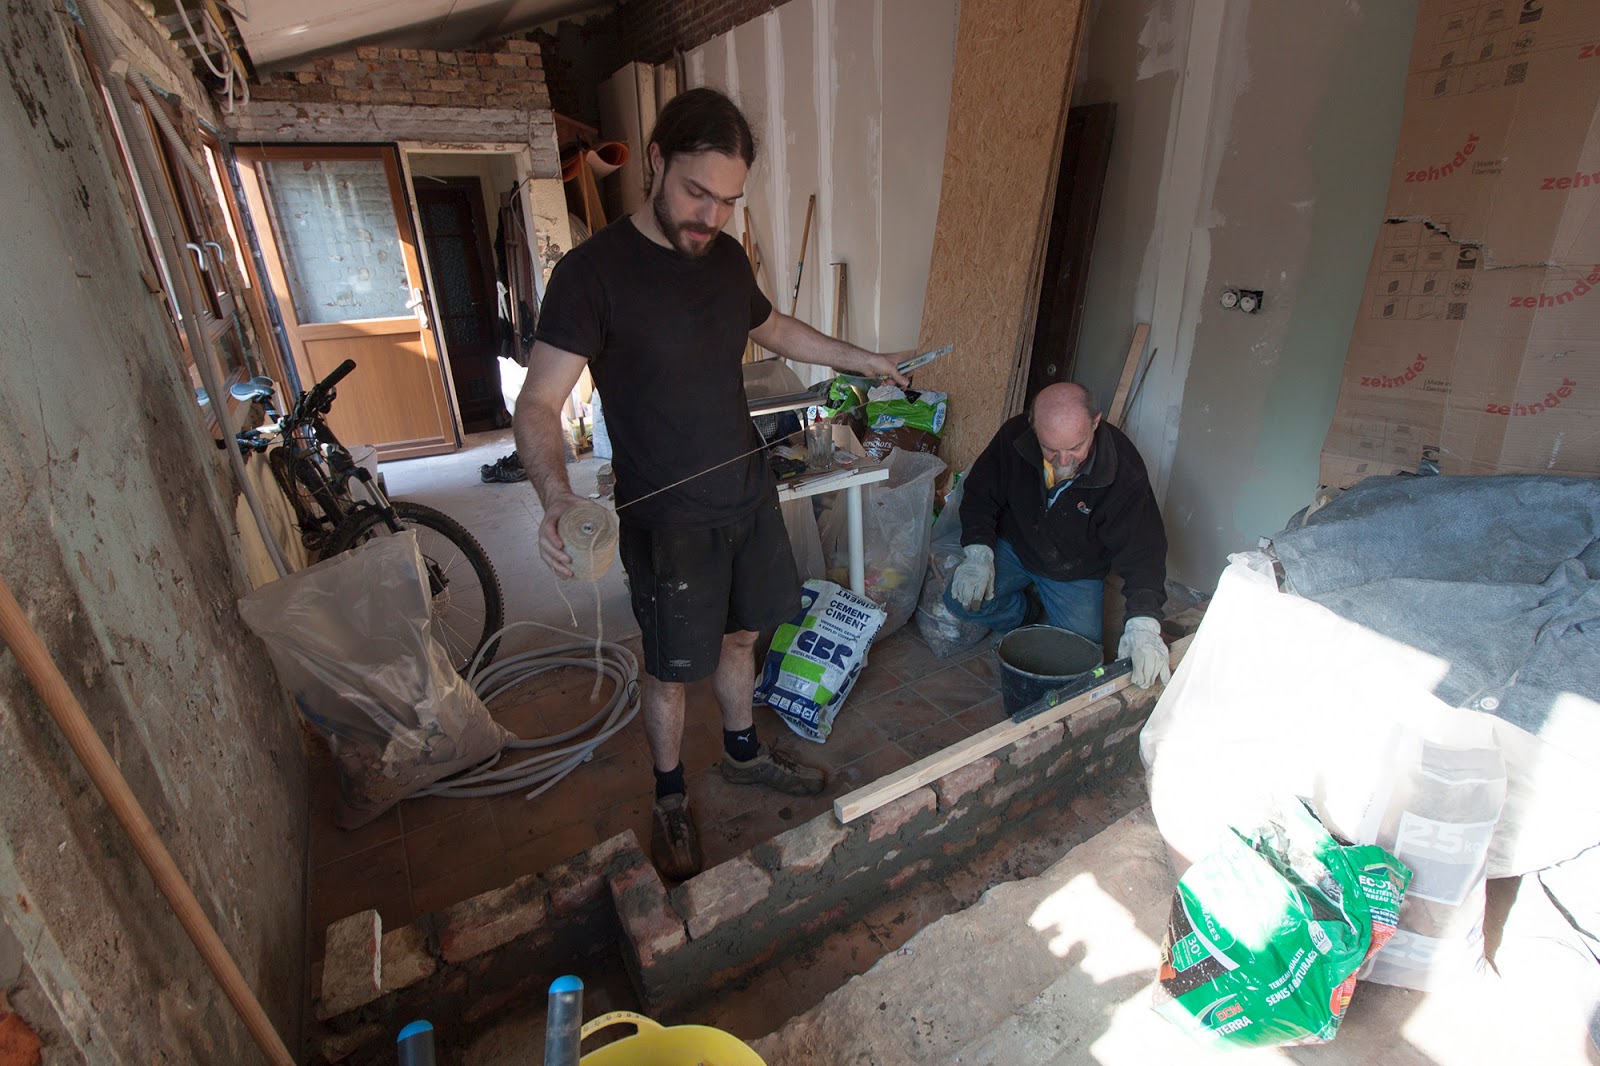
I've so much to post about, I might have to split the posts today!

Lately, when I want to post here, I can't even recall what we've done, I just go to the camera and see what I've been taking pictures of.

I'll start with the oldest stuff I haven't posted about:

More shellac layers to the bedroom floor.
I mentioned this on the previous entry.
We started laying down the attic floor! We actually installed all of it in about 5 hours. Much faster than the bedroom floor! 


We got lucky though, we barely had to cut any boards. Three boards fit almost perfectly along the length, missing a little bit at the end.


Since this ends up at the very edge of what is going to be a built in closet, we did not waste huge amounts of boards just to fit these tiny bits, that are barely going to be visible and never stepped on, in the groove of the boards already placed. So we just cut pieces from two boards to fit the gaps, fitted them into each other's grooves and nailed them. The join to the main body of boards was then less than perfect, but I filled it with wood paste and sanded it down, and it looks great now :) I mean it doesn't really look like anything!

I did also lightly sand (120 grit) down the entire floor, and gave it one layer of oil. I am using the same oil I used for the dyed boards (V33 waterproof). Since the boards in this room are not to be dyed, I decided to treat them when already laid down. The dye is water based and it really did raise the grain of the wood, the wood was rough after one layer of oil over the dye. However it looks very nice and feels very smooth on the natural boards!

Left, oiled, right, bare
Brings out the figure

All oiled. At this stage it really reminds me of olive wood :)
After this, I will give two or three layers of shellac, then we install the baseboard and the room is finished!

Next: washbasin.

We realised we also needed to make an inset for the drain hardware to fit on the marble.
Pipes
Due to the location of the vessel sink (covering a large rust stain in the marble),
the drawer could not be made to still work, with an inset or so. We took it
apart, and nailed/glued the front of the drawer in place. We didn't destroy
any parts, and I've kept them for now. I am sentimental. And cautious.

Uncomfortable to work inside a cabinet, but hopefully worth it.
Bonus:

A cat looking for the other cat behind the mirror

Sunday, 2 November 2014

Him Diamond

We're exhausted! Working a lot lately... :)

Mostly pictures:

Pim concentrated on the front rooms plaster finishing.
Lots of work here.

I am anxious to have a washbasin! started working on the vanity.
I give two layers of thick shellac to all the bathroom furniture,
inside and out.

Drilling holes for plumbing.

Old houses, uneven floors. I stacked popsicle sticks until the vanity was level.

Then I lengthened the legs with layers of them + PVA glue.
I did smooth them and paint them later, so the fix is nearly invisible.

The vanity marble was very scratched and stained.
There is a large, deep rust stain that I won't be able to remove,
we're just placing the washbasin on top!

After a lot of work with diamond polishing pads.

And more. I am using grit 60 through 400.I have finer grits, but I doubt if I am gonna go over 800,
the windowsill is just honed and I like it like that.

We also drilled the holes for the plumbing on the marble.
Diamond tools FTW.

We were unaware of templates for core drills, I just read about them yesterday.
Too late to order any, so we made our own with a piece of OSB, which worked
perfectly. You only need to use it until you have a groove (first pic).

Drilling, marking, drilling.

One 5 cm hole for the drain, two 1 cm holes for cold and warm water.
I also worked on the floorboards, bedroom and landing.
I wasn't happy with the finishing (dust sticks to the old finish like nobody's business, bad since the house is still super dusty).

The more I use shellac the more I like it (looks and performance).
So I vacuumed, cleaned the dust with warm water only (I wrung the microfibre cloth as much as possible - it dried fast) then applied a thick layer of shellac.

I worked on a continuous length of floorboard from end to end. Started with one at a time, ended up daring to tackle 4 at a time. Working fast, it works great, and looks very good so far.

No pictures yet.