Showing posts with label plumbing. Show all posts

Saturday, 25 February 2017

Small bathroom progress

It's been a while since I posted about this, and there has been a lot of progress.

The galleries I managed to "make work" here in terrible, terrible Blogger look like they're actually getting worse every day! I have added some captions to the images but they only show over the thumbnails in ALL CAPS now, wtf?

In any case, what Pim has been working on (I am really not doing anything of this anymore, I am due to give birth any day now):

  • Put up electricity for aseo, laundry & kitchen
  • Pipes for aseo & kitchen
  • Tap fittings for aseo
  • Drains for aseo, laundry & kitchen (lots of cutting and digging into the floors here!)
  • Plasterboards for aseo, laundry & kitchen
  • Self-levelling screed / compound / mortar for aseo floor which was very uneven 
  • And he's also been re-setting the tiles on the mesh since I couldn't bend over anymore!

Friday, 23 December 2016

Plans for the back building

We've been mostly planning the next renovation phase: the "powder room*", laundry room, kitchen and dining room.

*What a stupidly euphemistic name. In Spanish we call this aseo:  a small room with a WC and a washbasin, literally a place where you tidy up yourself. I guess powdering might be considered "tidying up", but, really? anyway.

Planning is incredibly important, we've found. We go over things over, and over, and over, and over again and we always find something we were mistaken about, or we had forgotten. It also happens that you change your mind 3 or 4 times, I think, mostly for the better.

We've been mainly focusing on the aseo and the laundry. These are immediately adjacent the main house building (the living room which is a temporary kitchen at the moment), and, with a baby on the way, will come in very handy as you can imagine. The kitchen and dining room can wait since we have functioning ones, temporary and super messy, but functional. The laundry is also functional at the moment, with the laundry machine and also the dishwasher connected there.

So we have been planning the distribution of the aseo, which is no easy task since it is a tiny 1 x 1,2 m room, and we are recycling a door found in the house (72 cm wide). And I did not want the door to swing outwards into the narrow passage/laundry, particularly since you'll have to go up a couple of steps to go into the aseo, and that seems very awkward to me.

We finally chose and ordered a WC (I love how easy it must be to clean this one! all stupid crannies hidden in a smooth ceramic column :)), a vessel sink (with overflow, many vessel sinks do not have one! dangerous...), the tiles (going for Winckelmans gres again, which we're loving), the taps and hardware (also very happy with our choice in the bathroom), and the lamps (going for a bit of a fancy-design thing this time). We'll build the counter for the sink ourselves, of ebonised oak and carrara marble. A wall to wall mirror and possibly some led strip lightning over the moulding on the ceiling and that's all that's necessary. We have also ordered the laundry sink, but I'll talk about that later.

  • WC: Globo Paestum Monolito with an ebonised oak seat
  • Sink: Scarabeo In-Out drop-in
  • Tiles: Winckelmans 5x5 cm black and white square
  • Hardware: Nicolazzi 1477NO70 nero opaco half dome wall mounted + paper holder / towel bar
  • Lamps: Karboxx Escape cube
Obligatory crap-collage
The hardware finish is all wrong! and also wrong tap handles

The colour scheme of the room will be very strictly black and white. I'm quite inspired by razzle dazzle camouflage paint from WWI for this! Really looking forward to it ;)

So far we have received the WC, we will pick up the tiles tomorrow, and we got a dispatch notice for both sinks. Both lamps and taps (bit of a special order) are due in February.

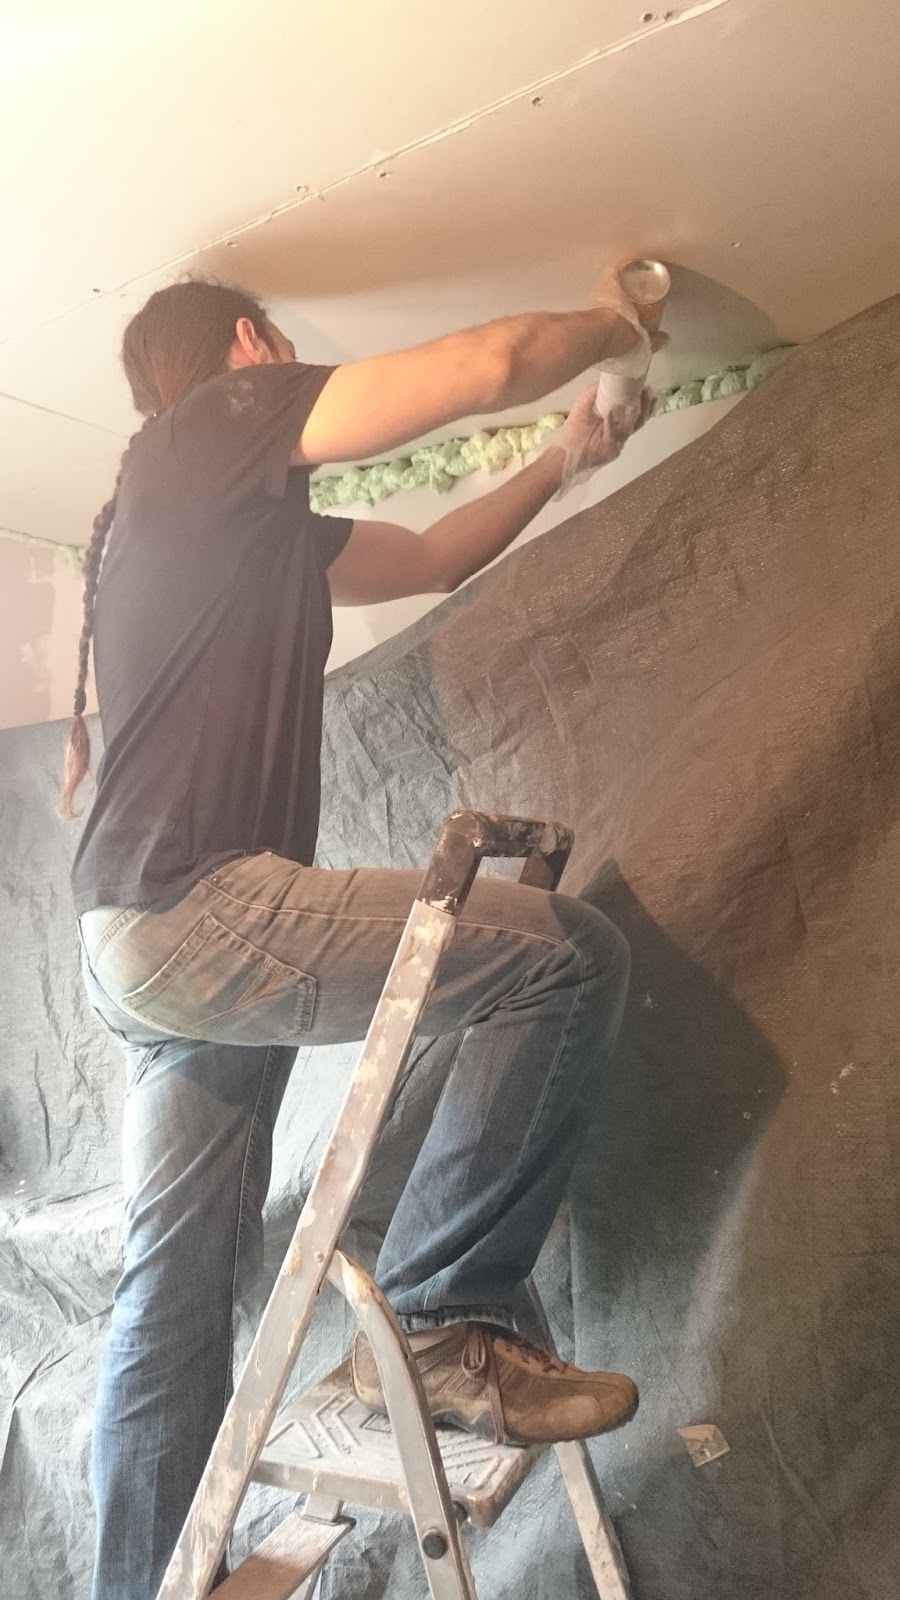
Structural work has already begun, and, as I'm getting large and clumsy, I am not helping with this hard, dusty as fuck work at the moment. Pim's been cutting at the walls with the angle grinder, in all the places where electricity switches & ducts, and pipes of all types have to be built into the wall. No insulation/plasterboard in this building, so lots and lots of cutting!

He's already built the threshold (recycled steel railroad beam + concrete) for the aseo door (this was simply a solid wall before), and begun building the wall that is missing at the moment, between the aseo and the kitchen. He also cut off a chunk of wall between the laundry and the kitchen, because the passage was unnecessarily narrow:

Friday, 29 May 2015

Picture dump

I haven't updated in a while, so I'm gonna do a picture dump with a little commentary.

I started removing paint from the front door. It's a mess!

We'll perservere.

We also installed much needed blinds in the attic windows.

We doubted a long time about the colour, finally went with white.

They absolutely block the light.
Shellac!

There was a spare night table around so I washed it, shellac-ed it,
and it is now extra storage in the attic bedroom.

The bathroom vanity suffered water marks, so I fixed it...
The first layers of shellac I used, I mixed well with all the wax contained in the flakes. I found info that the wax is more protective against vapour, which worried me more than a few droplets of water (we ventilate a lot but showers happen). However it is less water resistant.

I rubbed the spots with alcohol and a piece of cloth, which worked quite well, and then gave a few more layers of shellac, this time skimmed from the top of the mix. There will still be wax, but less. If this doesn't perform well enough (we are trying to splatter less, but we're human), I'll have to bring out the varnish :(

And... workshop! I'm very excited about the workshop ;P but it needs lots and lots of work...

Closing gaps with PUR.

Plastering.

Installing water pipes.

Putting up plasterboards.

Water, yay!

Sunday, 5 April 2015

Drains

Pim's been working on drains under the driveway.


I'm trying to convince him to write a post about it.

Sunday, 15 March 2015

Hose tap


There it is. Sticking out since this wall still needs a layer of insulation covered by thin bricks. Sometime.

This wall is the driveway / court side of the farthest building, what will be the kitchen and dining room.

Tuesday, 11 November 2014

Picture dump

I'll edit this later because blogger is giving me lots of grief today.
...

Edited to add captions.

This is the "box" Pim made to hide the cables.
The roof in the next room is much lower, and there are
lots of cables, and we thought this to be the best solution.
Here, shown with a layer of green "primer".
We actually just used a green paint that was on offer.

Supervisor

Pim's dad has been working a lot on the back building.
It's cold in there :( there is no heating yet, but he is
putting up all this insulation and closing the gaps.

There was a gas "bias" chimney in here, and no tiles underneath, unfortunately.
Pim filled the sandy hole with concrete. It will mostly be covered by furniture.
This was and will temporarily be the kitchen, and a living room at a later time.

Covering bricks with plaster in the laundry corner.

The laundry corner's other... corner. Already with water
collectors and beginning of outlets.

Lots of progress

I've so much to post about, I might have to split the posts today!

Lately, when I want to post here, I can't even recall what we've done, I just go to the camera and see what I've been taking pictures of.

I'll start with the oldest stuff I haven't posted about:

More shellac layers to the bedroom floor.
I mentioned this on the previous entry.
We started laying down the attic floor! We actually installed all of it in about 5 hours. Much faster than the bedroom floor! 


We got lucky though, we barely had to cut any boards. Three boards fit almost perfectly along the length, missing a little bit at the end.


Since this ends up at the very edge of what is going to be a built in closet, we did not waste huge amounts of boards just to fit these tiny bits, that are barely going to be visible and never stepped on, in the groove of the boards already placed. So we just cut pieces from two boards to fit the gaps, fitted them into each other's grooves and nailed them. The join to the main body of boards was then less than perfect, but I filled it with wood paste and sanded it down, and it looks great now :) I mean it doesn't really look like anything!

I did also lightly sand (120 grit) down the entire floor, and gave it one layer of oil. I am using the same oil I used for the dyed boards (V33 waterproof). Since the boards in this room are not to be dyed, I decided to treat them when already laid down. The dye is water based and it really did raise the grain of the wood, the wood was rough after one layer of oil over the dye. However it looks very nice and feels very smooth on the natural boards!

Left, oiled, right, bare
Brings out the figure

All oiled. At this stage it really reminds me of olive wood :)
After this, I will give two or three layers of shellac, then we install the baseboard and the room is finished!

Next: washbasin.

We realised we also needed to make an inset for the drain hardware to fit on the marble.
Pipes
Due to the location of the vessel sink (covering a large rust stain in the marble),
the drawer could not be made to still work, with an inset or so. We took it
apart, and nailed/glued the front of the drawer in place. We didn't destroy
any parts, and I've kept them for now. I am sentimental. And cautious.

Uncomfortable to work inside a cabinet, but hopefully worth it.
Bonus:

A cat looking for the other cat behind the mirror

Sunday, 2 November 2014

Him Diamond

We're exhausted! Working a lot lately... :)

Mostly pictures:

Pim concentrated on the front rooms plaster finishing.
Lots of work here.

I am anxious to have a washbasin! started working on the vanity.
I give two layers of thick shellac to all the bathroom furniture,
inside and out.

Drilling holes for plumbing.

Old houses, uneven floors. I stacked popsicle sticks until the vanity was level.

Then I lengthened the legs with layers of them + PVA glue.
I did smooth them and paint them later, so the fix is nearly invisible.

The vanity marble was very scratched and stained.
There is a large, deep rust stain that I won't be able to remove,
we're just placing the washbasin on top!

After a lot of work with diamond polishing pads.

And more. I am using grit 60 through 400.I have finer grits, but I doubt if I am gonna go over 800,
the windowsill is just honed and I like it like that.

We also drilled the holes for the plumbing on the marble.
Diamond tools FTW.

We were unaware of templates for core drills, I just read about them yesterday.
Too late to order any, so we made our own with a piece of OSB, which worked
perfectly. You only need to use it until you have a groove (first pic).

Drilling, marking, drilling.

One 5 cm hole for the drain, two 1 cm holes for cold and warm water.
I also worked on the floorboards, bedroom and landing.
I wasn't happy with the finishing (dust sticks to the old finish like nobody's business, bad since the house is still super dusty).

The more I use shellac the more I like it (looks and performance).
So I vacuumed, cleaned the dust with warm water only (I wrung the microfibre cloth as much as possible - it dried fast) then applied a thick layer of shellac.

I worked on a continuous length of floorboard from end to end. Started with one at a time, ended up daring to tackle 4 at a time. Working fast, it works great, and looks very good so far.

No pictures yet.