Friday 28 November 2014

Moving and stuff

I haven’t been posting in a while… we moved in! that took all our time and energy, and then some.

Everything is still a mess… but some things also advanced since I last posted. I should have taken a picture of the attic before we filled it with stuff, but alas that did not happen. I think. Will check the camera. I think I could not catch it with daylight, which is often a concern in winter at this latitude.

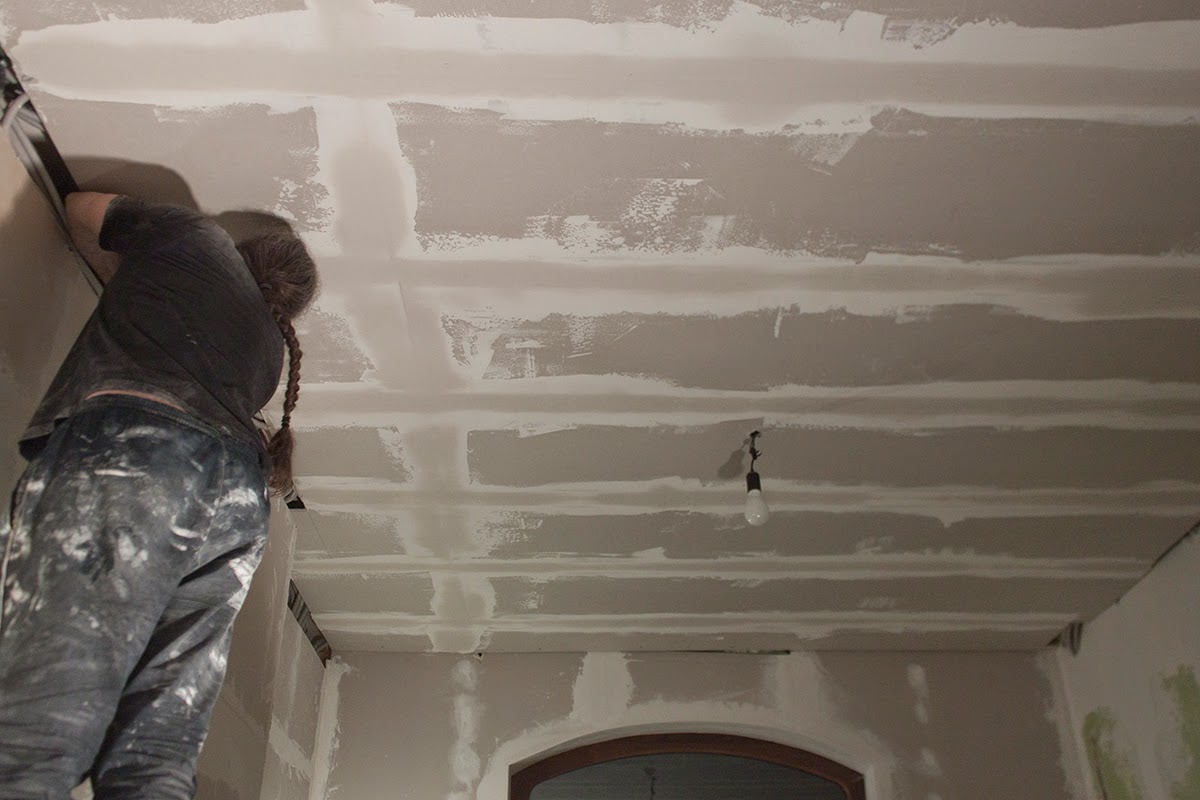
This is the best I could find, when I was painting the front rooms' mouldings

So the attic got finished (paint on the walls and beams, floor placing and finishing, including baseboard), well, sorta, still have to install a wall lamp on the corner.

Living rooms #1 and #2* (AKA front rooms) got painted, the floor scrubbed (and scrubbed again). We have not installed the mouldings yet (see photo above), we bought them and I painted them a cream colour, and they’re back in the box. We will probably wait until things have settled a bit to put more cables along the edge, like speakers and such, which we are not sure where to put yet. Once the furniture is in place it’ll be easier to decide. We hope.

Moving big furniture in through the window


The “kitchen”, which will eventually be living room #3 (you could say it is just one long, narrow living room*) is sorta cleaned up and the ceiling is still opened up with all the cabling visible. Not finished up with this so it’ll stay like that for a bit. Now the entire surface is full of boxes, homeless kitchen stuff and the dining room table!


Big mess in... not so little kitchen

Now every single room is filled with partially mounted furniture and boxes upon boxes of stuff (SO MUCH stuff! I have way too many hobbies and... probably plan to add more).


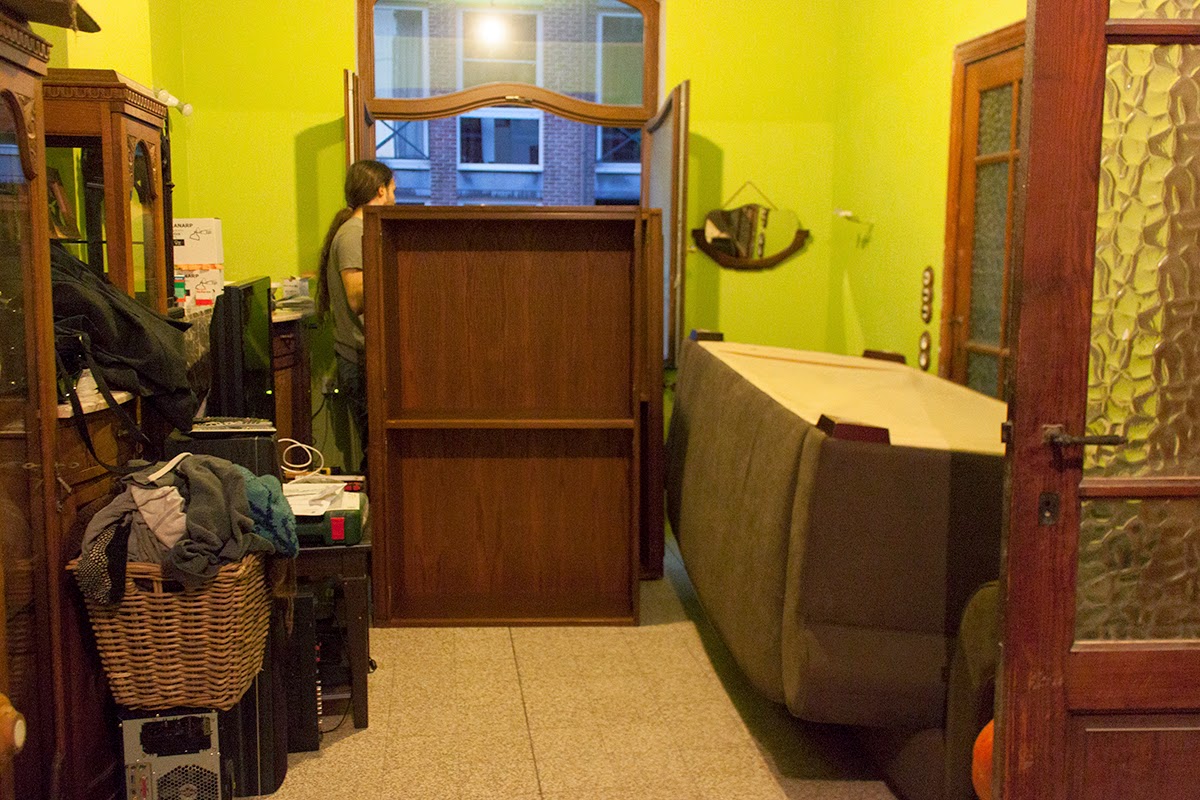
* #1 is street-side and has a nice arched window. It still has a mantlepiece and we plan to install a gas fireplace in the future. Here comes nice art-deco furniture and probably my antique desk and the treadle sewing machine. And some seats. Right now it is stuffed with two huge-ass sofas, the TV, the art deco furniture and three coffee tables (two small ones under the TV). It will stay so until we make a new kitchen in the back building.

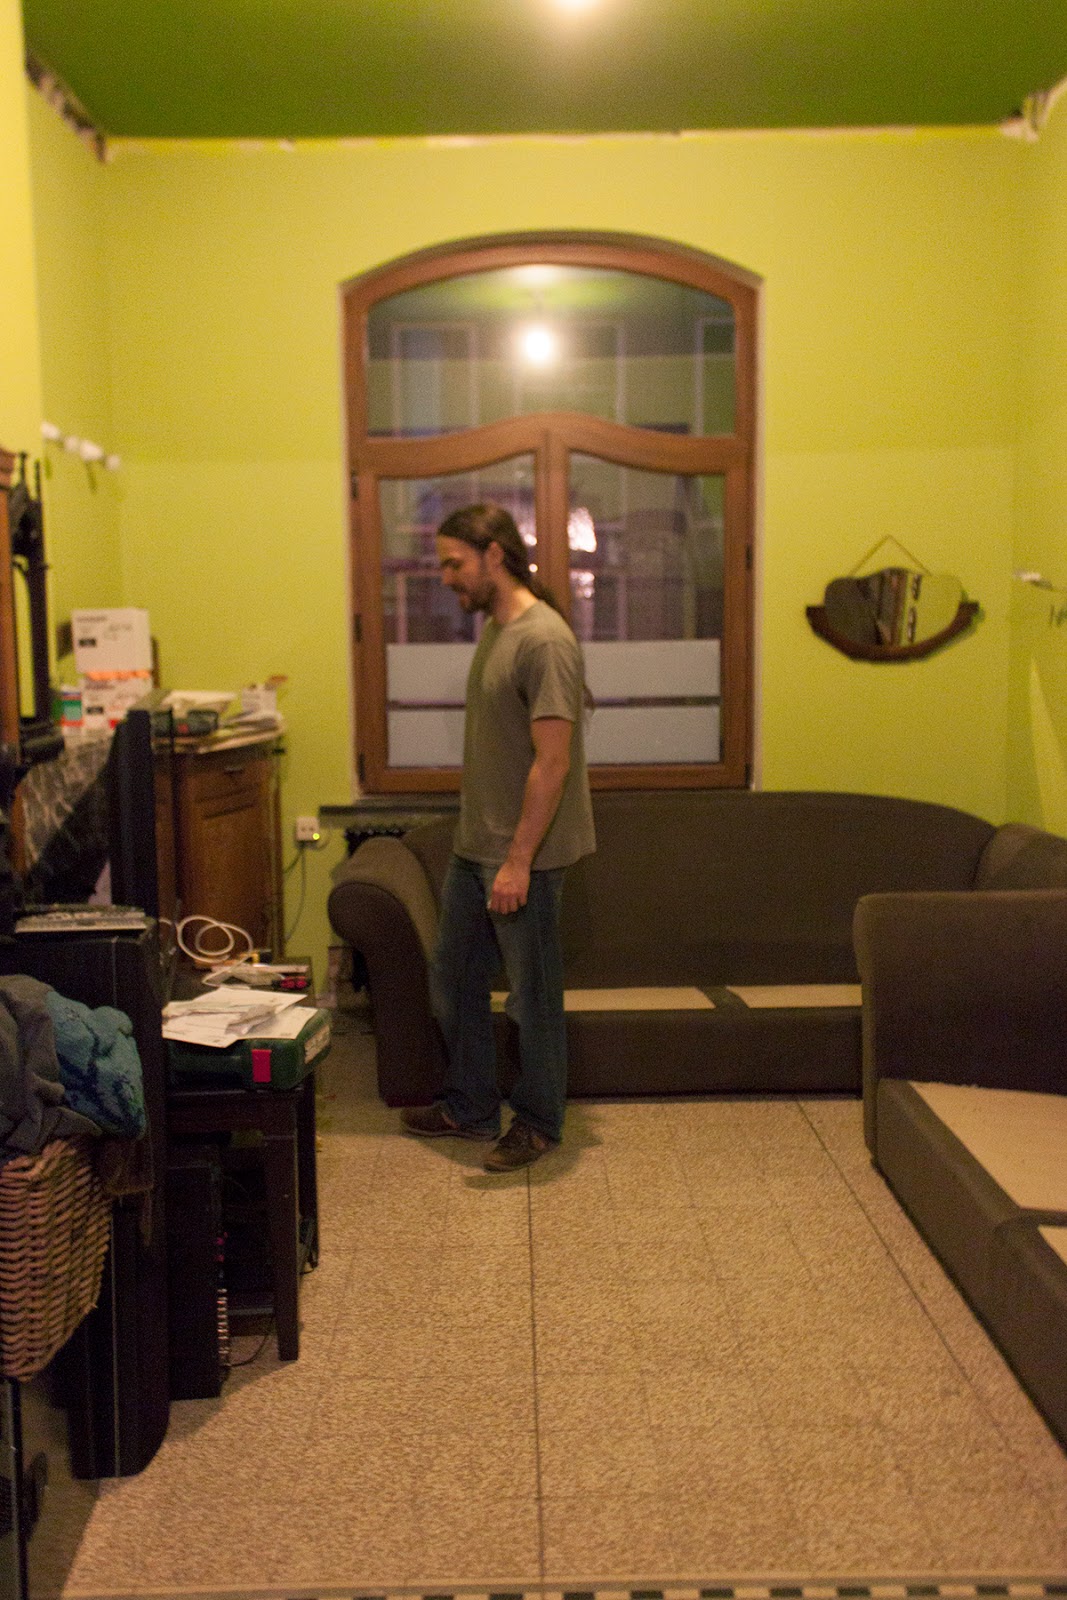
Mid-move, it is even more stuffed now

#2 is separated from #1 by an arch (formerly with double or triple glass doors, now partially disappeared, we found some remnants in the attic). It is narrower than #1 (the hall adjacent widens for the staircase). Here we will put lots of large cupboards and bookshelves. We toyed with calling it library but it is too pretentious. Not much more will fit. Now you can barely pass through.

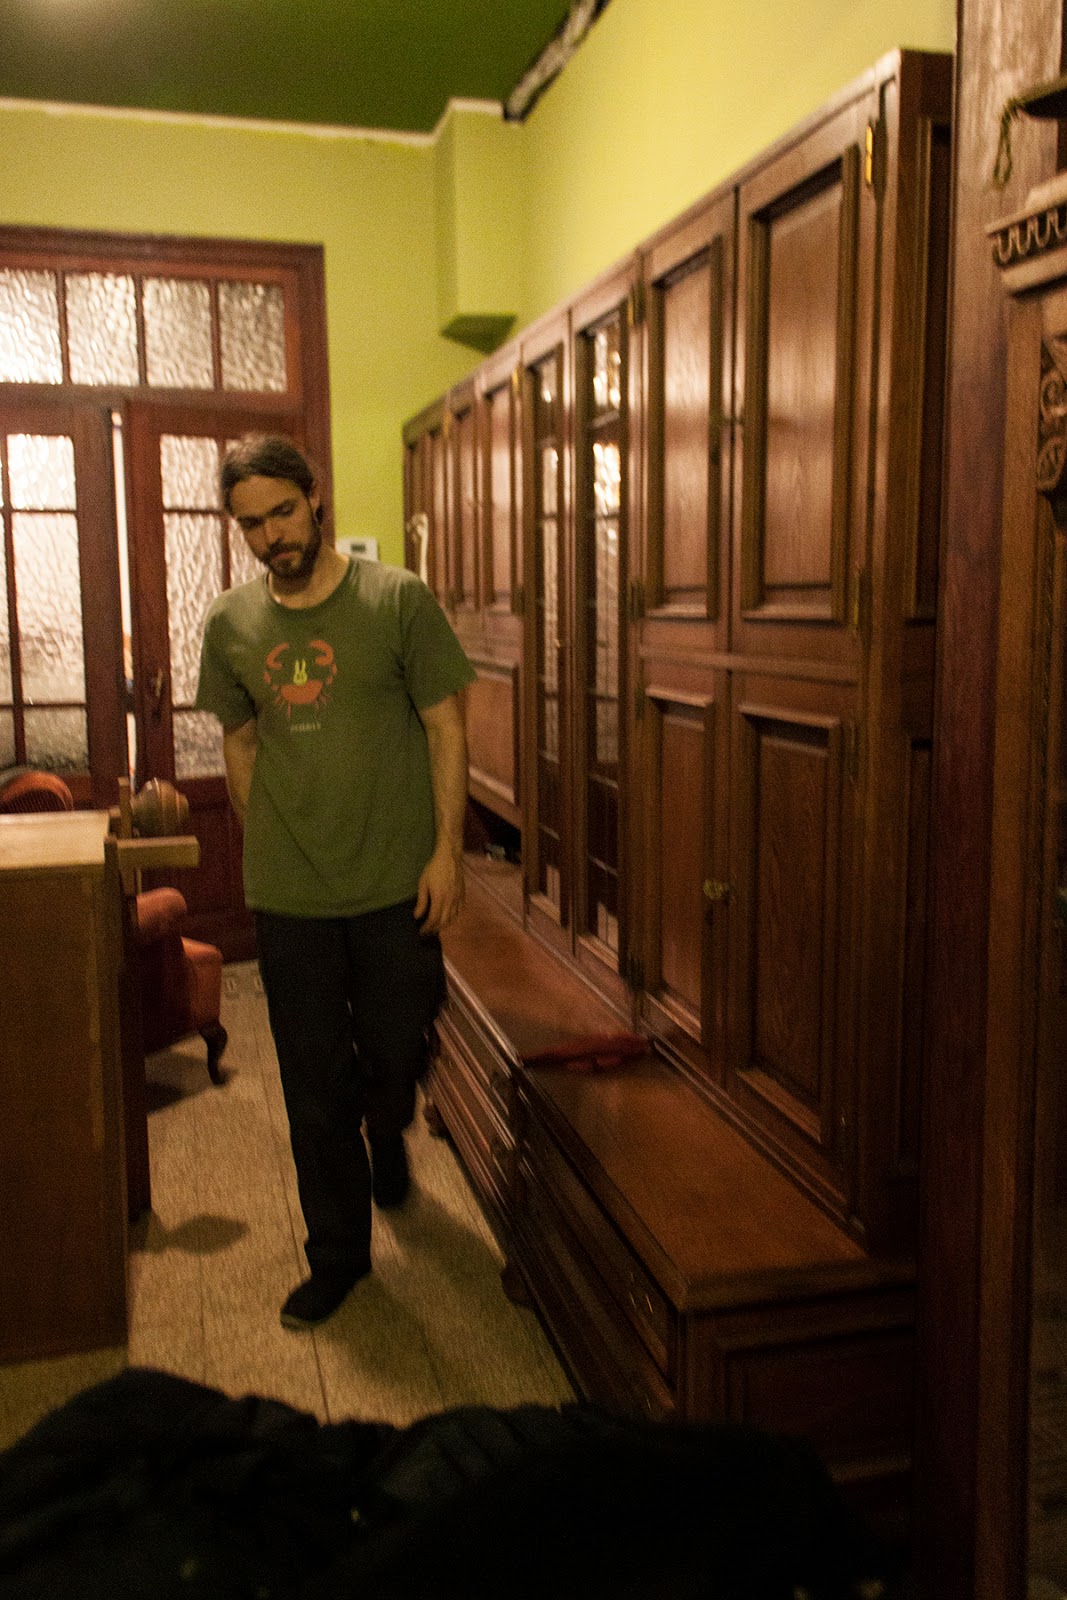
Started to put up cupboards
#3, originally, and still now, a kitchen, is separated from #2 by double glass doors. Very damaged by a dog in the past. I half-heartedly fixed them a bit some time ago, still work to do and unfortunately due to the heavy damage they will have to be painted (on the #3 side). I will use black. The door that goes to the back building, future laundry and kitchen, will also need to be fixed and painted on the #3 side. The floor in all three livings is coloured terrazzo tiles with motifs, the motif in the kitchen is quite nice.

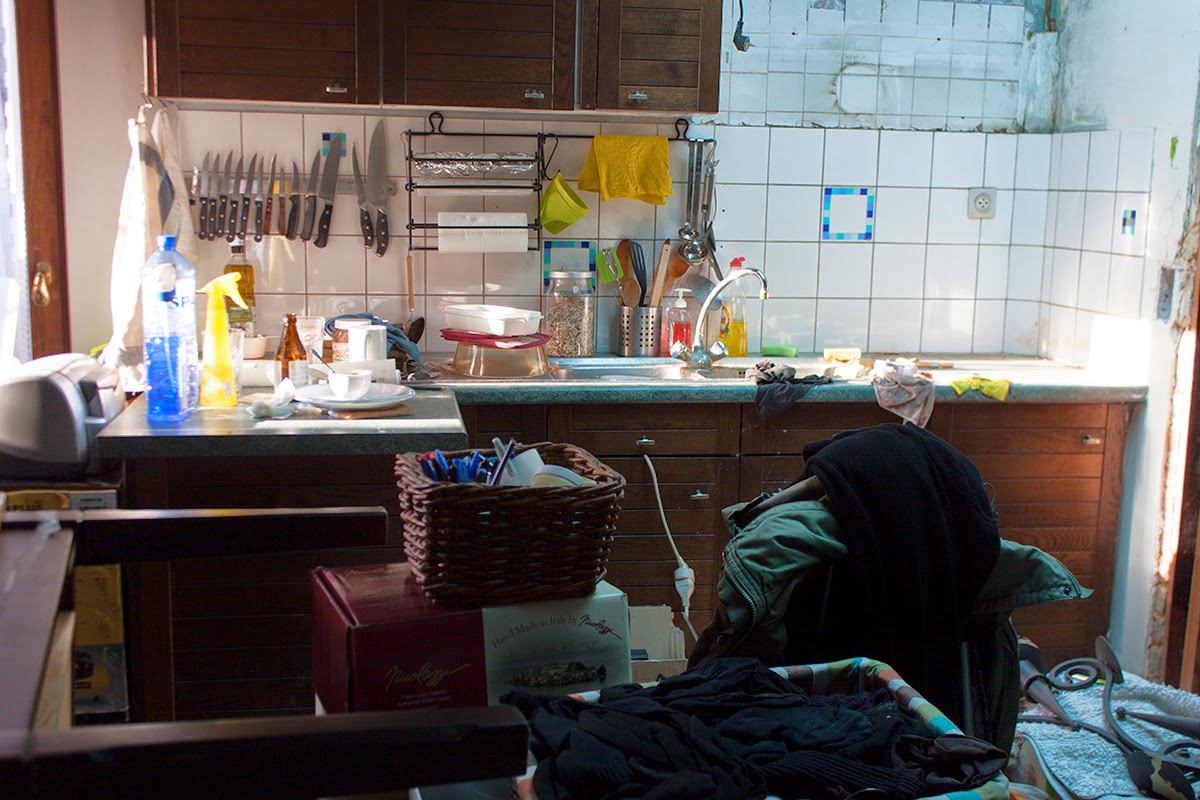
We still have to put up some kitchen cabinets we had temporarily taken down.
They were already here when we bought the house, and look like they have
been recycled from elsewhere at least once.

This temporary kitchen is still better than the “kitchen” we previously had in our apartment (one story another house from the 30’s, larger -our story was 100 square metres- but barely fixed, let’s not talk about the “bathroom”).

We have started putting stuff together, I will try to take some better pictures tomorrow (Saturday) with daylight. We also have to finish cleaning up our old apartment so we may not have much time left.

Inherited oil painting, I love it
Loki

Tuesday 11 November 2014

Picture dump

I'll edit this later because blogger is giving me lots of grief today.
...

Edited to add captions.

This is the "box" Pim made to hide the cables.
The roof in the next room is much lower, and there are
lots of cables, and we thought this to be the best solution.
Here, shown with a layer of green "primer".
We actually just used a green paint that was on offer.

Supervisor

Pim's dad has been working a lot on the back building.
It's cold in there :( there is no heating yet, but he is
putting up all this insulation and closing the gaps.

There was a gas "bias" chimney in here, and no tiles underneath, unfortunately.
Pim filled the sandy hole with concrete. It will mostly be covered by furniture.
This was and will temporarily be the kitchen, and a living room at a later time.

Covering bricks with plaster in the laundry corner.

The laundry corner's other... corner. Already with water
collectors and beginning of outlets.

Lots of progress

I've so much to post about, I might have to split the posts today!

Lately, when I want to post here, I can't even recall what we've done, I just go to the camera and see what I've been taking pictures of.

I'll start with the oldest stuff I haven't posted about:

More shellac layers to the bedroom floor.
I mentioned this on the previous entry.
We started laying down the attic floor! We actually installed all of it in about 5 hours. Much faster than the bedroom floor! 


We got lucky though, we barely had to cut any boards. Three boards fit almost perfectly along the length, missing a little bit at the end.


Since this ends up at the very edge of what is going to be a built in closet, we did not waste huge amounts of boards just to fit these tiny bits, that are barely going to be visible and never stepped on, in the groove of the boards already placed. So we just cut pieces from two boards to fit the gaps, fitted them into each other's grooves and nailed them. The join to the main body of boards was then less than perfect, but I filled it with wood paste and sanded it down, and it looks great now :) I mean it doesn't really look like anything!

I did also lightly sand (120 grit) down the entire floor, and gave it one layer of oil. I am using the same oil I used for the dyed boards (V33 waterproof). Since the boards in this room are not to be dyed, I decided to treat them when already laid down. The dye is water based and it really did raise the grain of the wood, the wood was rough after one layer of oil over the dye. However it looks very nice and feels very smooth on the natural boards!

Left, oiled, right, bare
Brings out the figure

All oiled. At this stage it really reminds me of olive wood :)
After this, I will give two or three layers of shellac, then we install the baseboard and the room is finished!

Next: washbasin.

We realised we also needed to make an inset for the drain hardware to fit on the marble.
Pipes
Due to the location of the vessel sink (covering a large rust stain in the marble),
the drawer could not be made to still work, with an inset or so. We took it
apart, and nailed/glued the front of the drawer in place. We didn't destroy
any parts, and I've kept them for now. I am sentimental. And cautious.

Uncomfortable to work inside a cabinet, but hopefully worth it.
Bonus:

A cat looking for the other cat behind the mirror

Sunday 2 November 2014

Him Diamond

We're exhausted! Working a lot lately... :)

Mostly pictures:

Pim concentrated on the front rooms plaster finishing.
Lots of work here.

I am anxious to have a washbasin! started working on the vanity.
I give two layers of thick shellac to all the bathroom furniture,
inside and out.

Drilling holes for plumbing.

Old houses, uneven floors. I stacked popsicle sticks until the vanity was level.

Then I lengthened the legs with layers of them + PVA glue.
I did smooth them and paint them later, so the fix is nearly invisible.

The vanity marble was very scratched and stained.
There is a large, deep rust stain that I won't be able to remove,
we're just placing the washbasin on top!

After a lot of work with diamond polishing pads.

And more. I am using grit 60 through 400.I have finer grits, but I doubt if I am gonna go over 800,
the windowsill is just honed and I like it like that.

We also drilled the holes for the plumbing on the marble.
Diamond tools FTW.

We were unaware of templates for core drills, I just read about them yesterday.
Too late to order any, so we made our own with a piece of OSB, which worked
perfectly. You only need to use it until you have a groove (first pic).

Drilling, marking, drilling.

One 5 cm hole for the drain, two 1 cm holes for cold and warm water.
I also worked on the floorboards, bedroom and landing.
I wasn't happy with the finishing (dust sticks to the old finish like nobody's business, bad since the house is still super dusty).

The more I use shellac the more I like it (looks and performance).
So I vacuumed, cleaned the dust with warm water only (I wrung the microfibre cloth as much as possible - it dried fast) then applied a thick layer of shellac.

I worked on a continuous length of floorboard from end to end. Started with one at a time, ended up daring to tackle 4 at a time. Working fast, it works great, and looks very good so far.

No pictures yet.