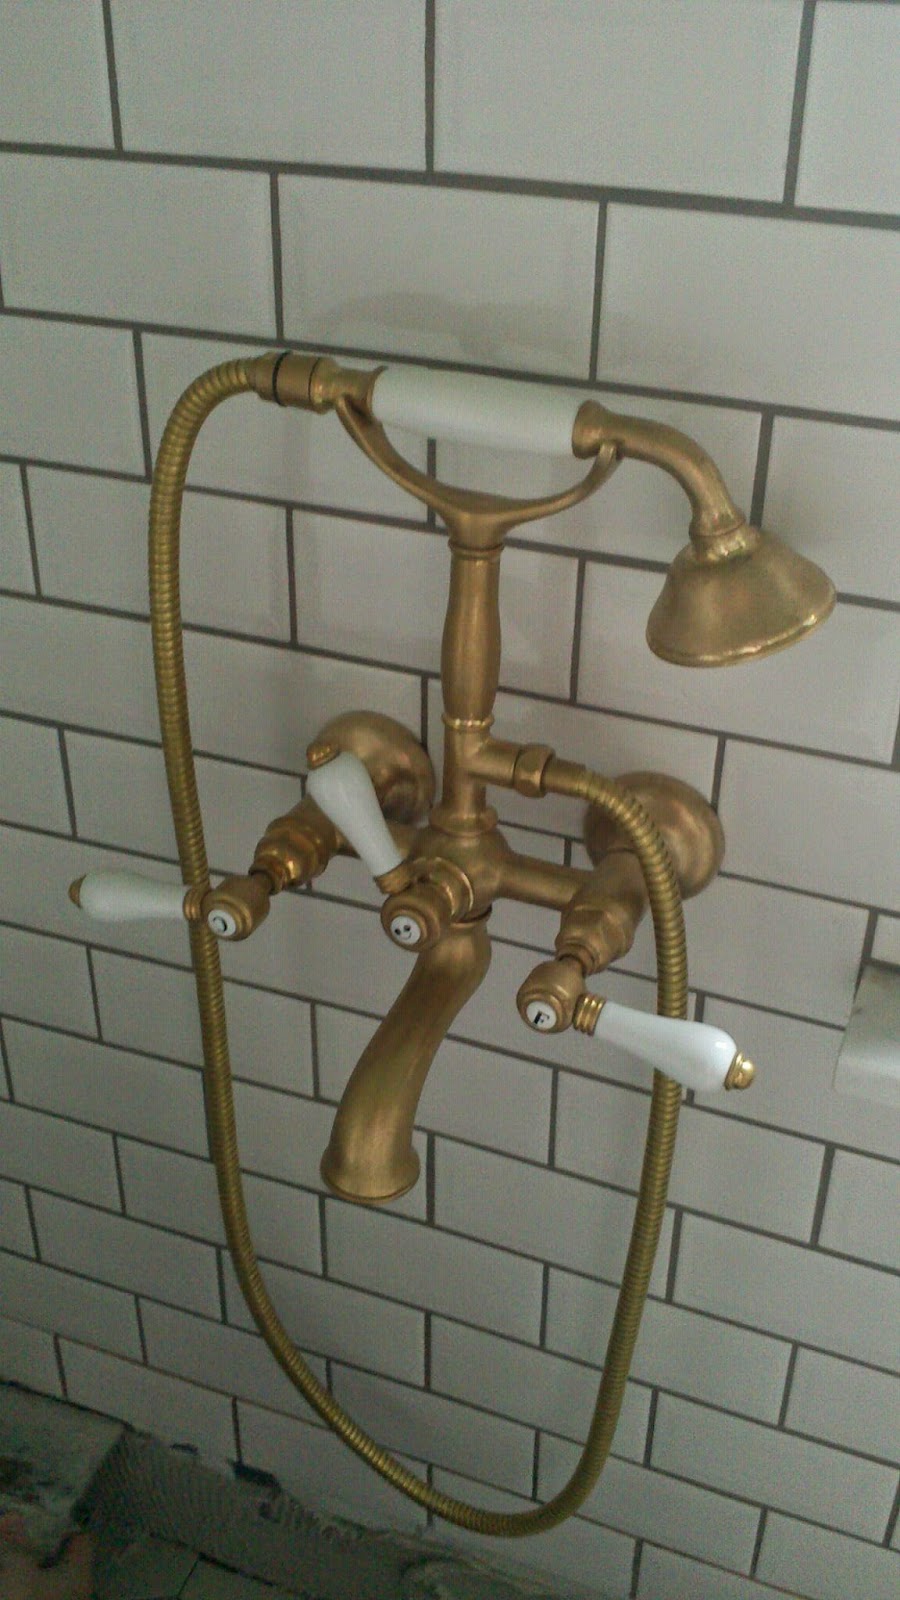
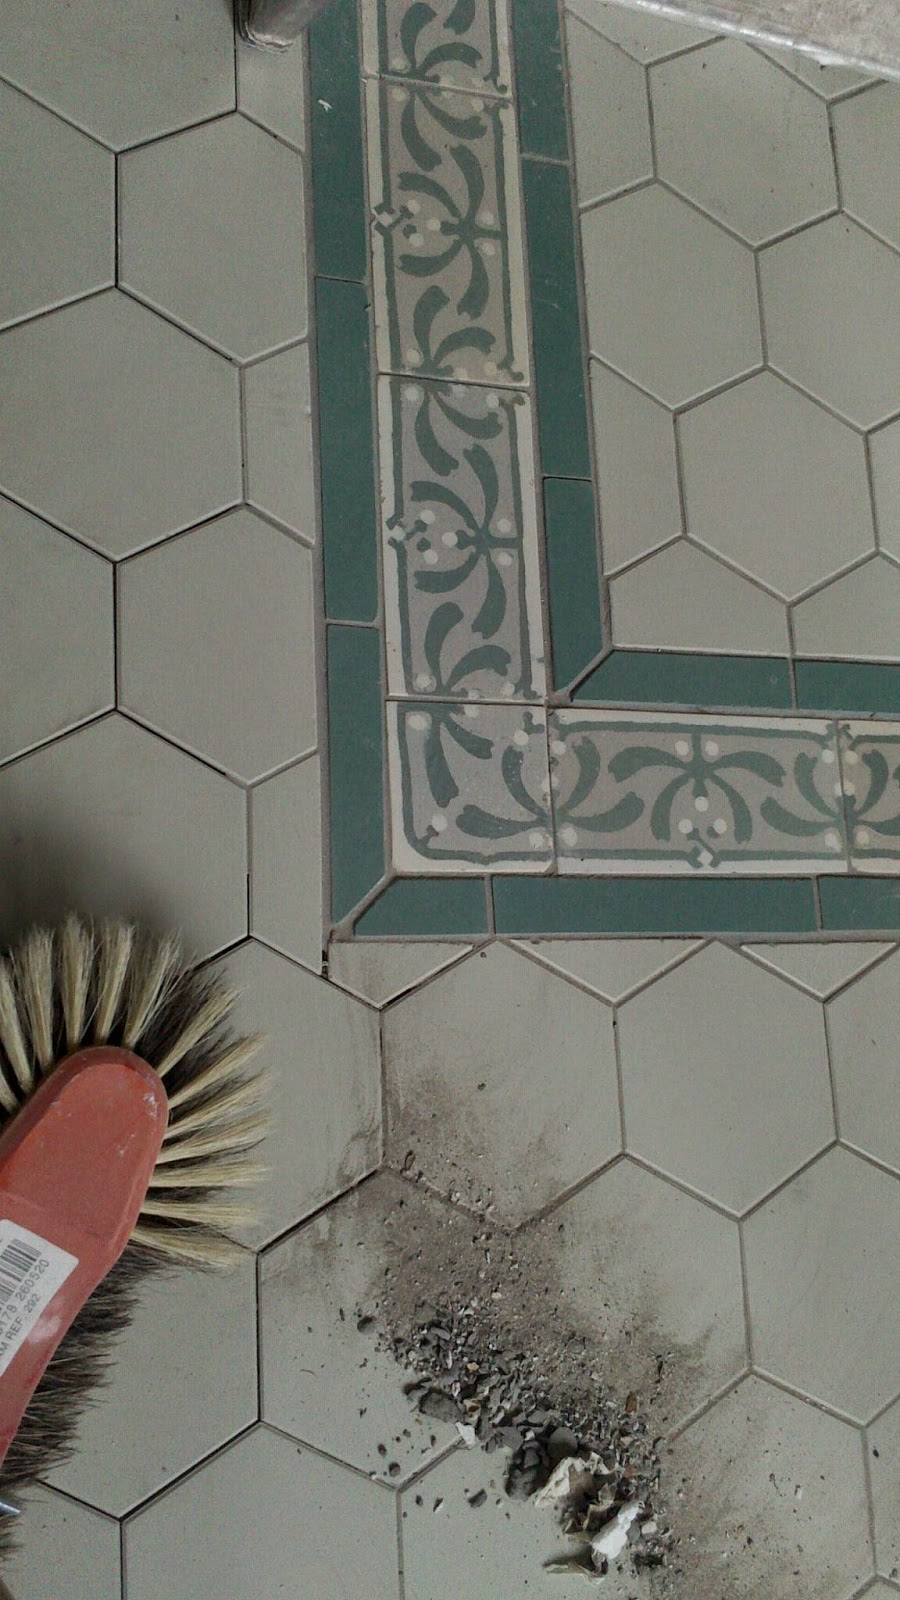
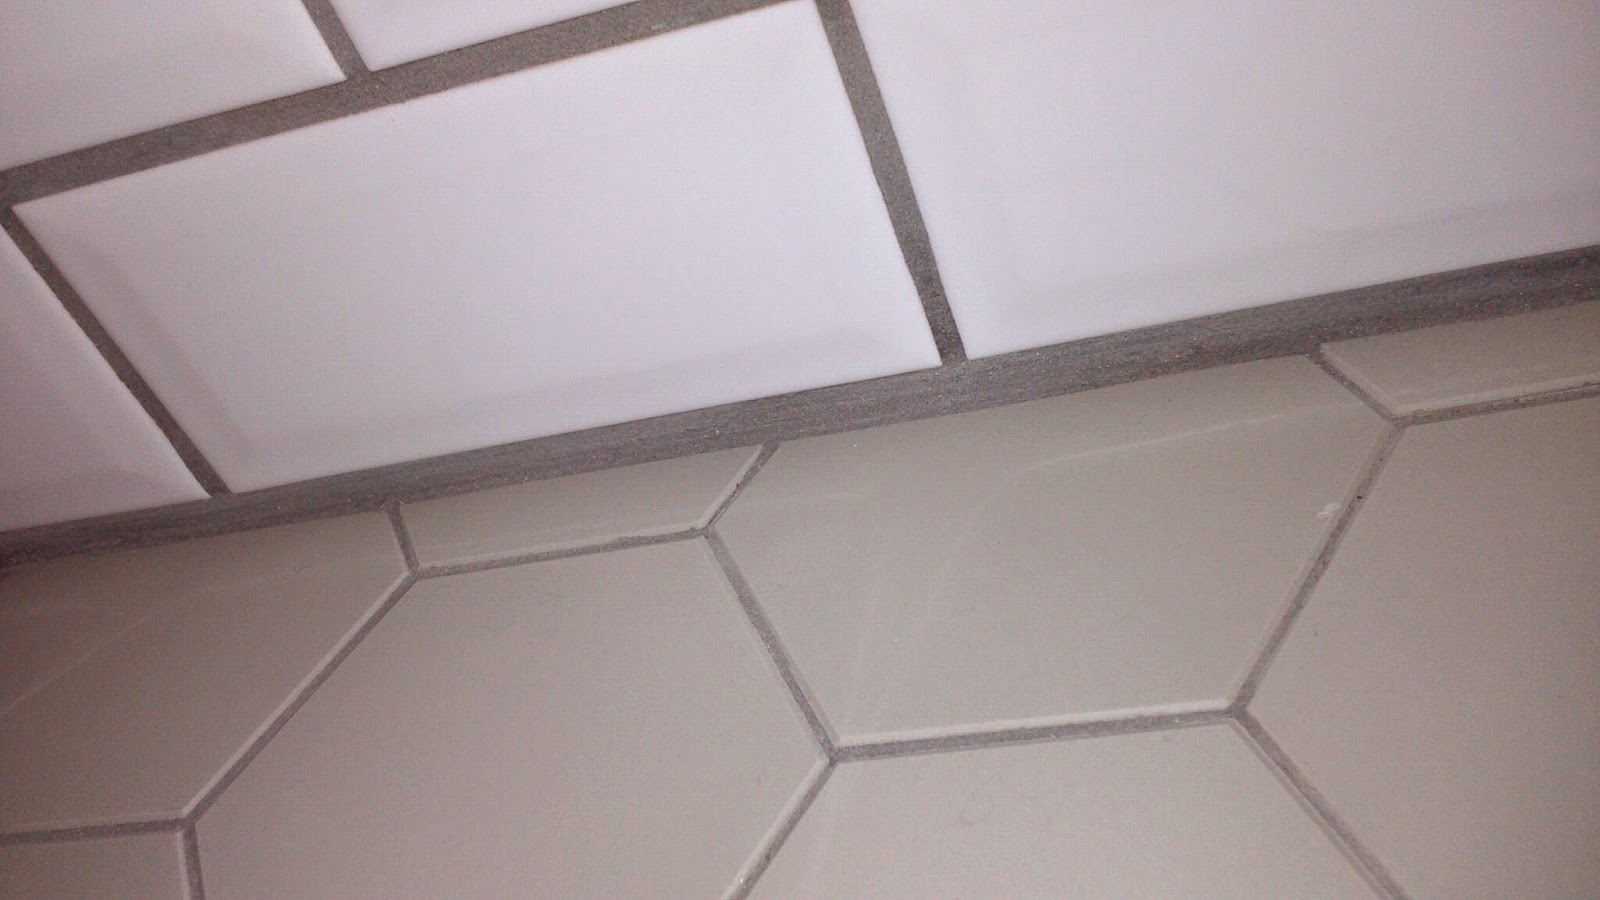
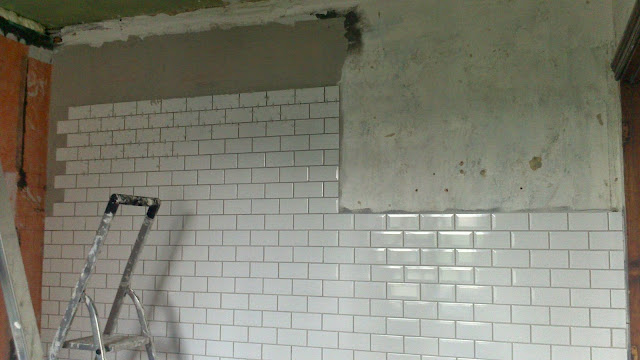
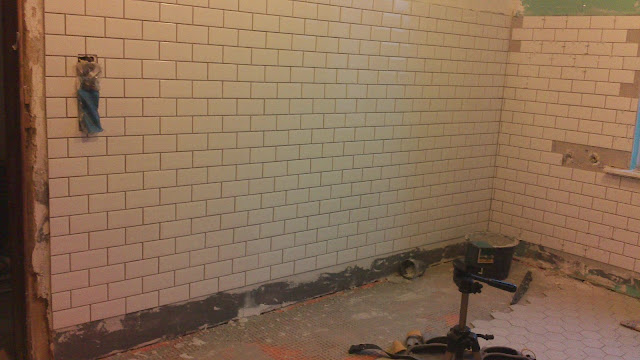
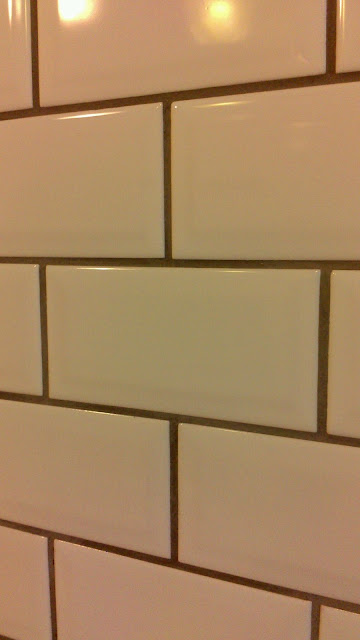
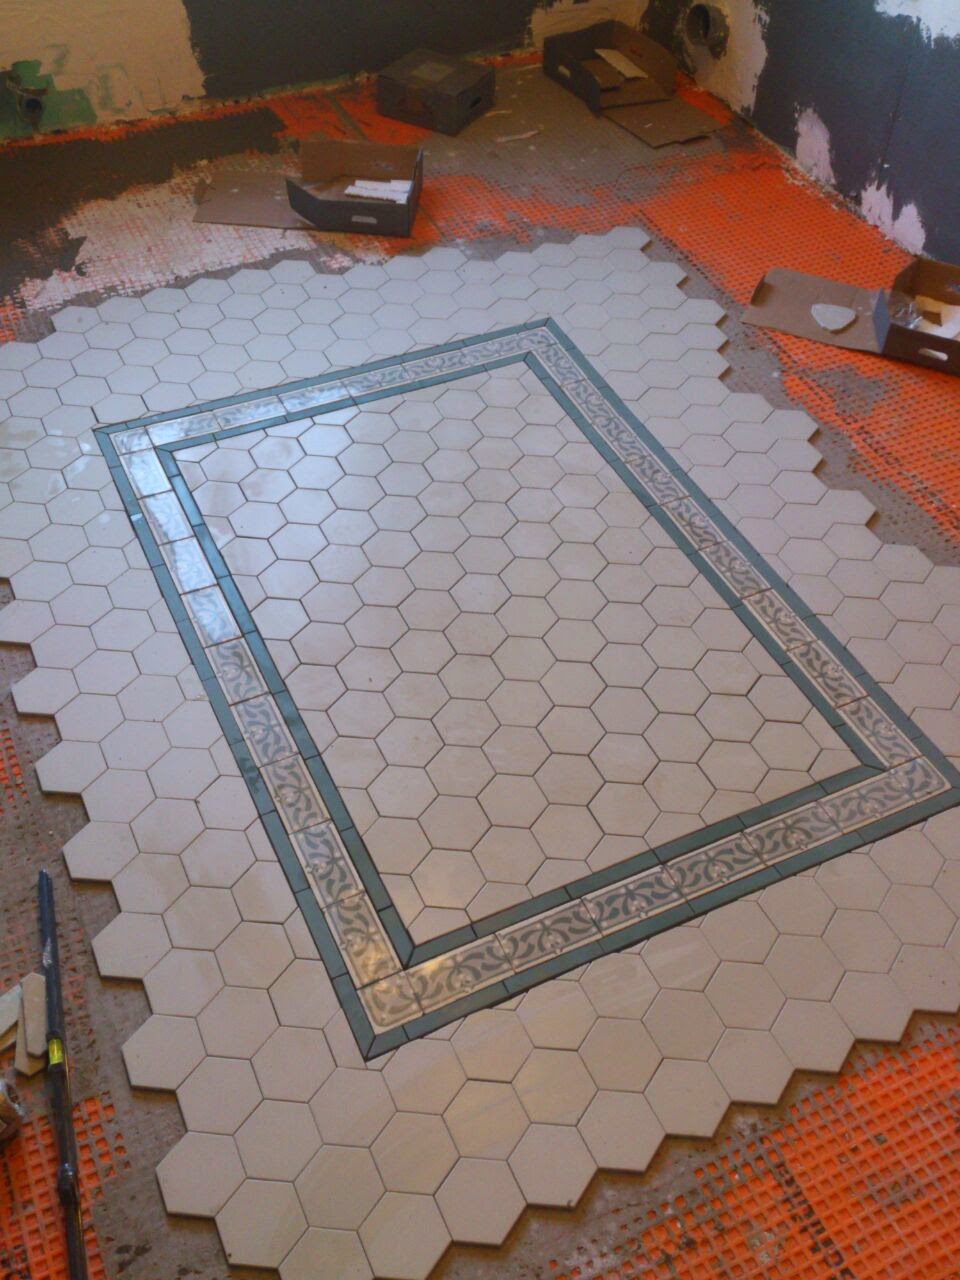
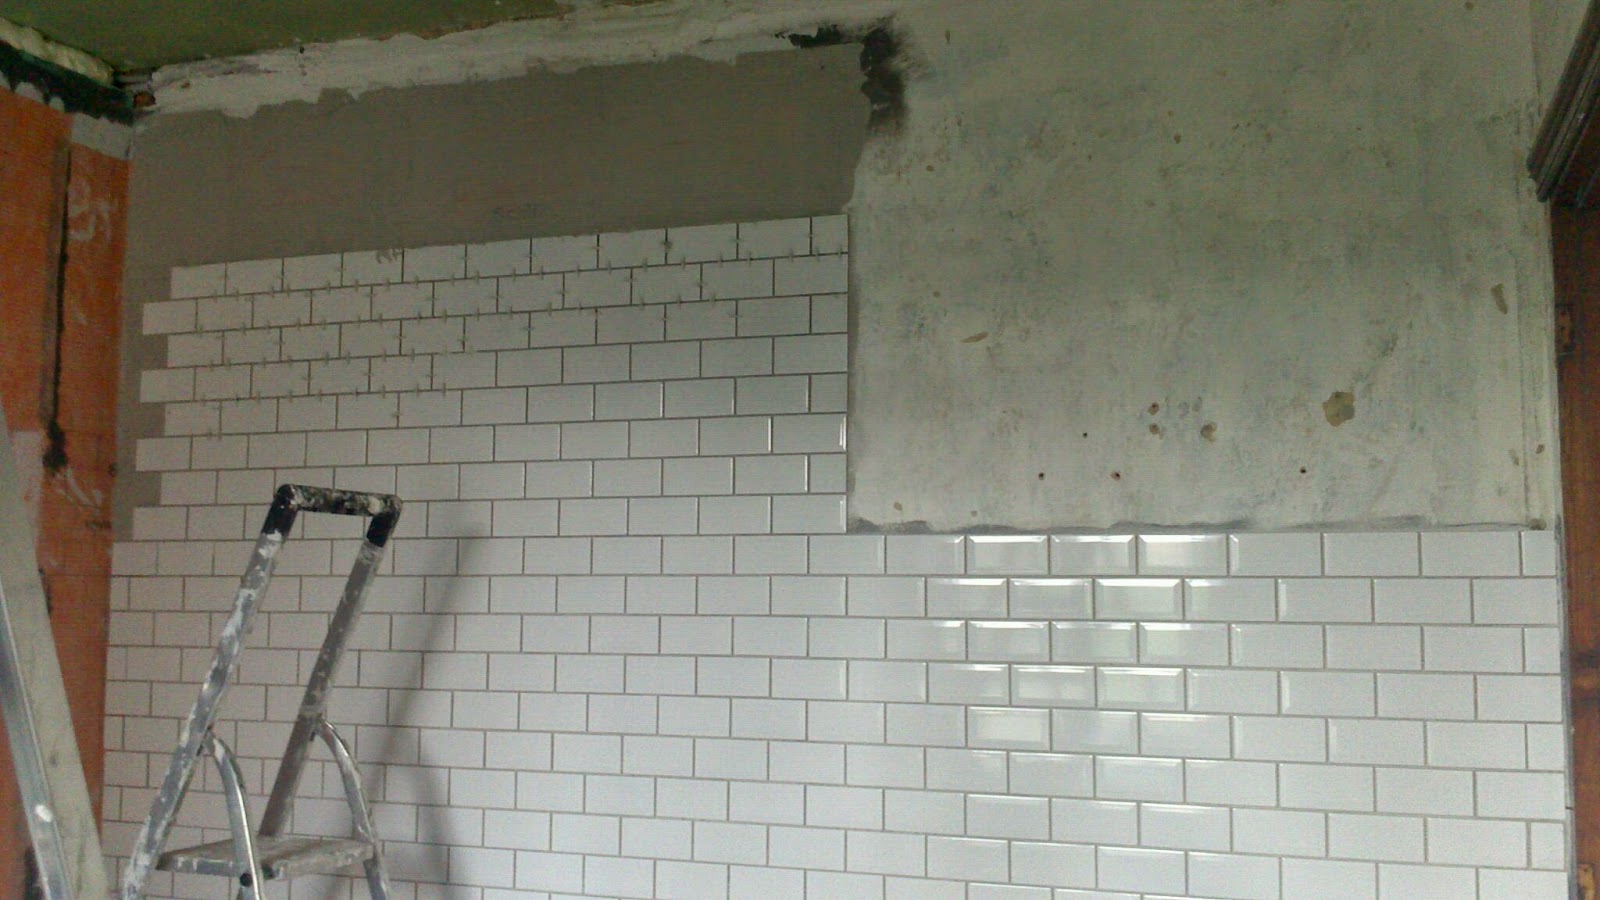
We still have a detailed bathroom tiling post pending.
We went to the store to buy more floorboards, because we didn't have enough for all the rooms. Good thing, since they are discontinuing them. I hope we have enough this time. The floorboards are single pieces of massive, tongue and groove oak. I posted about them before. Here too.
This is a simple job, at least compared to all the other jobs... over the existing floorboards, two layers of 3 mm insulating foam (supposed to absorb 20 dB each, not idea how much that is combined) and the floorboards nailed on top.
With such a grimy house all around, we don't want the floorboards damaged with the crap we carry in our shoe soles, etc, so we covered them with a thick felty thing (which is nice and lined with plastic on the underside) as we went. And it is going to stay that way until things clear up a little.
Under the radiator (so, inside the mantlepiece), and next to the wall besides it, we could not nail the thin strips of floorboard down anymore. So we glued them to the previous boards inside the groove.
Some pictures from Friday and Saturday, these were taken with my phone, so they're quite terrible:
I found a delightful little saw to cut door frames to measure. You don't even have to measure, just put the floorboards next to the frame, place the saw on top, and saw away.
The handle is raised you that you can hold the saw flat against the floor, and it has a mechanism to reverse the saw and make it face the left or the right. Great! I have no idea how these are called, there was a Dutch name shown in the store but I forgot.
Nice and sharp little teeth:
I tried out the white MDF plints (?) we bought for the bedroom (we got solid oak for other rooms, I didn't feel like buying oak and then painting it white for the bedroom...), but I didn't install them all around the room yet. Mitered cuts with this fancy old thing Pim's dad found around (I think it's Danish), glue + a few nails, easy enough. I love the contrast of grey, white and medium wood all over the room:
All in all, Friday evening, Saturday afternoon, and a great amount of hours today (Sunday), and we finished the bedroom! (at nearly 22h) which is about 18 square metres. We also did part of the landing adjacent (the floorboards continuous).
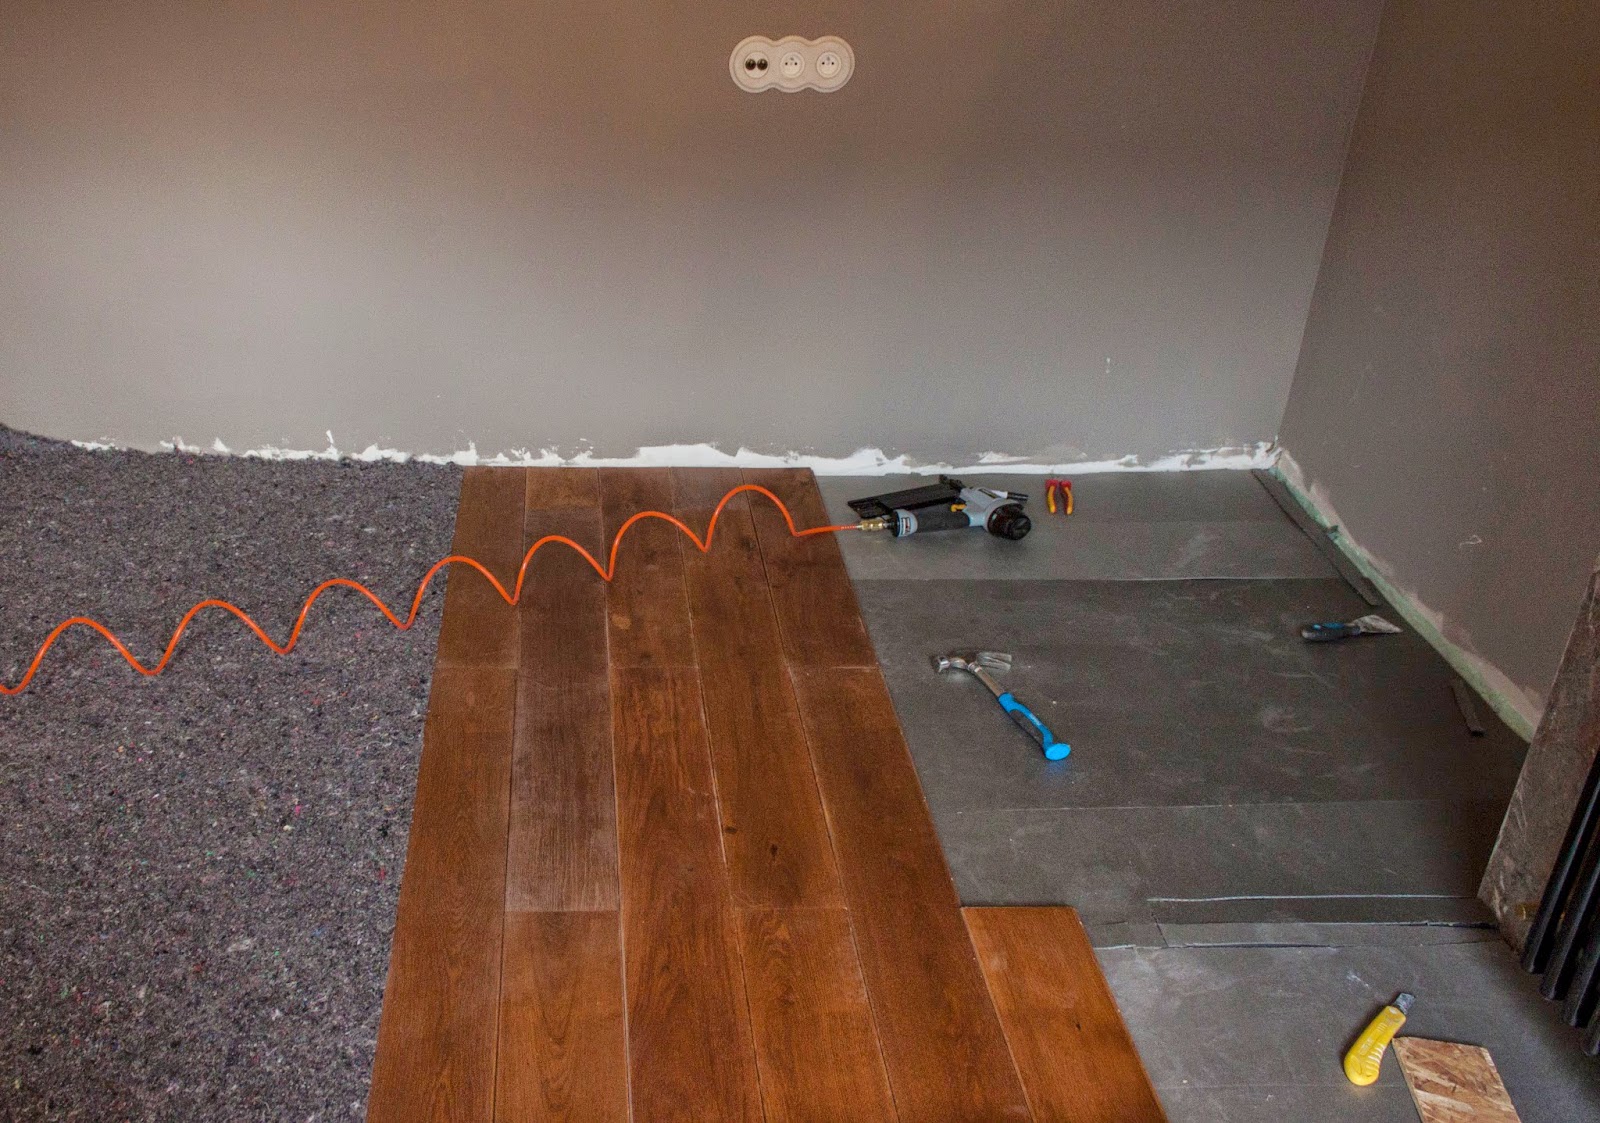
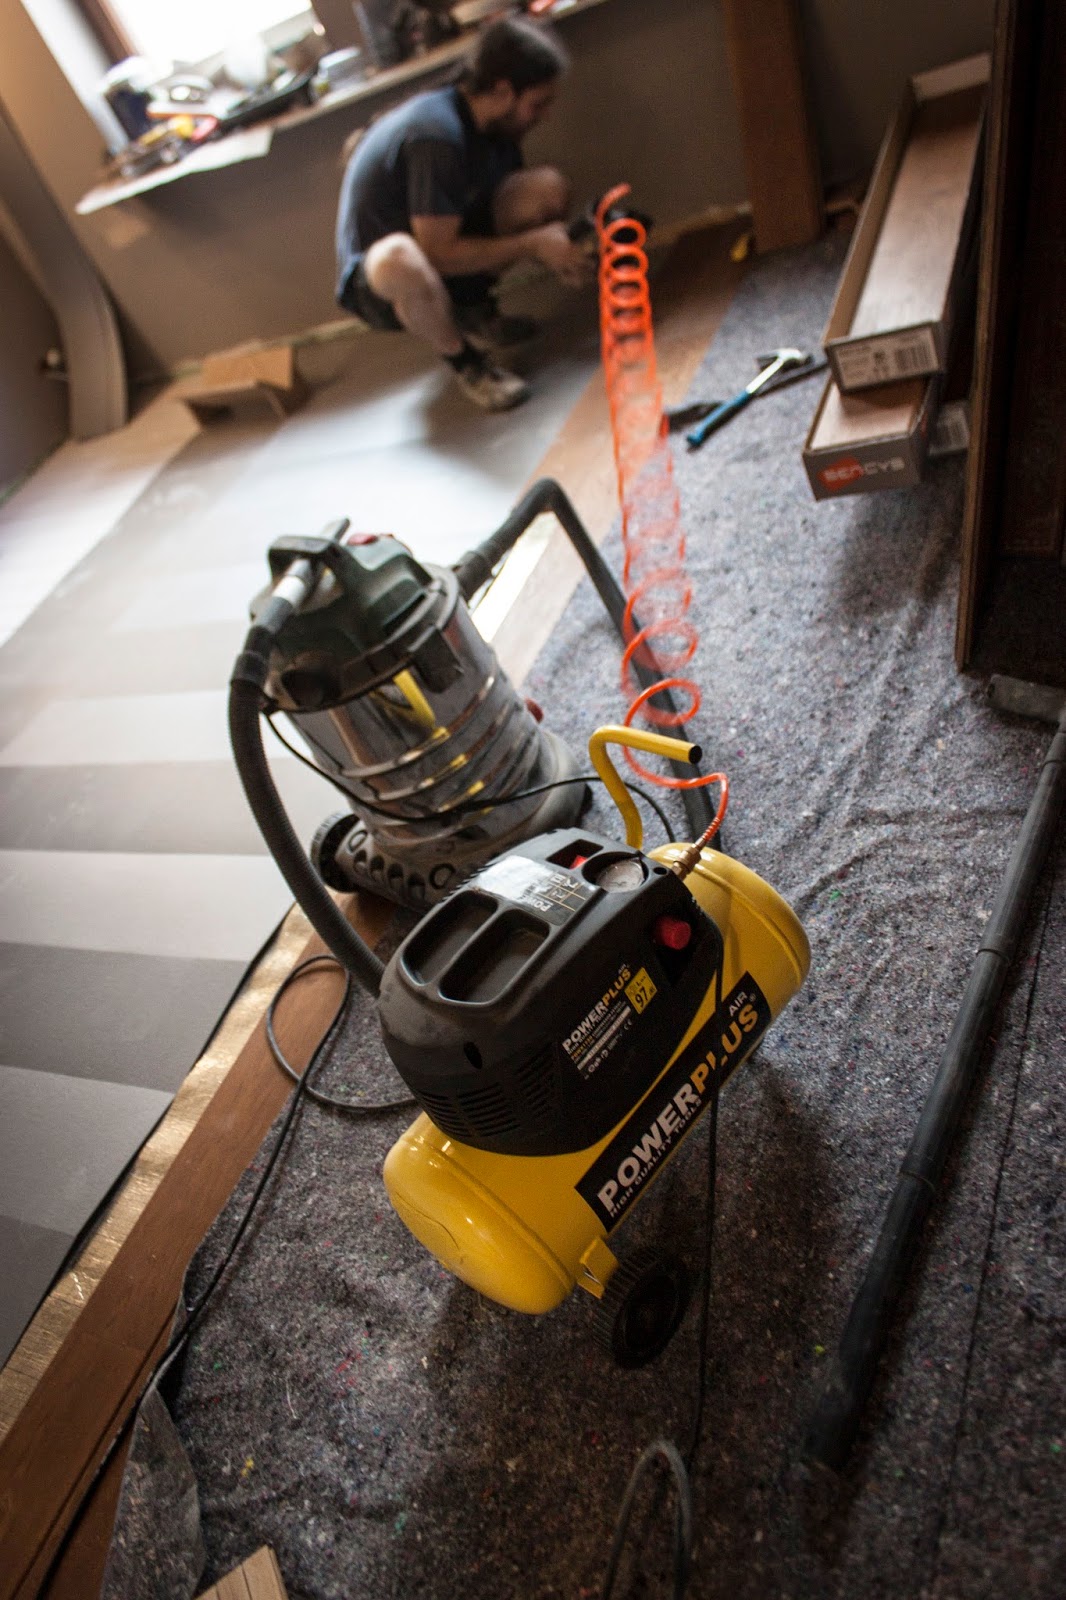 |
| Compressor + nail gun |
This is a simple job, at least compared to all the other jobs... over the existing floorboards, two layers of 3 mm insulating foam (supposed to absorb 20 dB each, not idea how much that is combined) and the floorboards nailed on top.
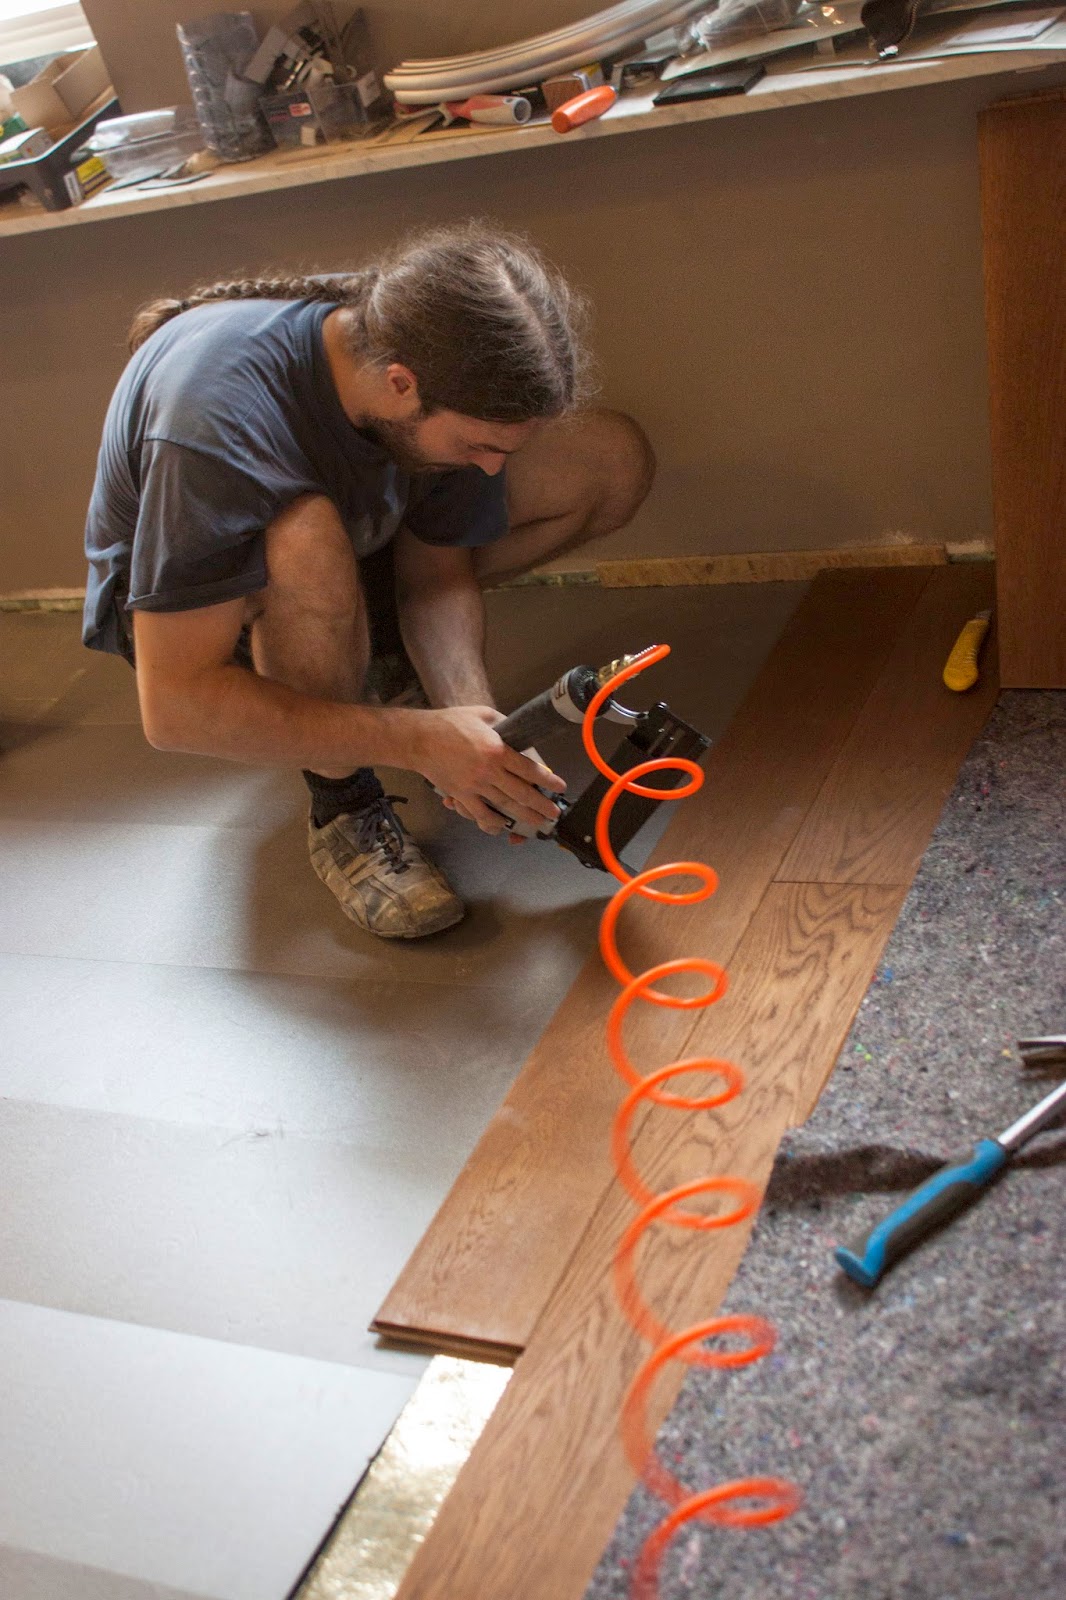 |
| Nailing boards diagonally on the tongue |
Pim didn't want to hammer these things by hand with a hammer, too easy to damage the wood at this angle, and such a huge pain in the ass. Renting a compressor with nail gun twice would be as expensive as buying the entire set-up, so that was a no-brainer. We aren't sure what we are gonna do with all these tools once we are done, though.
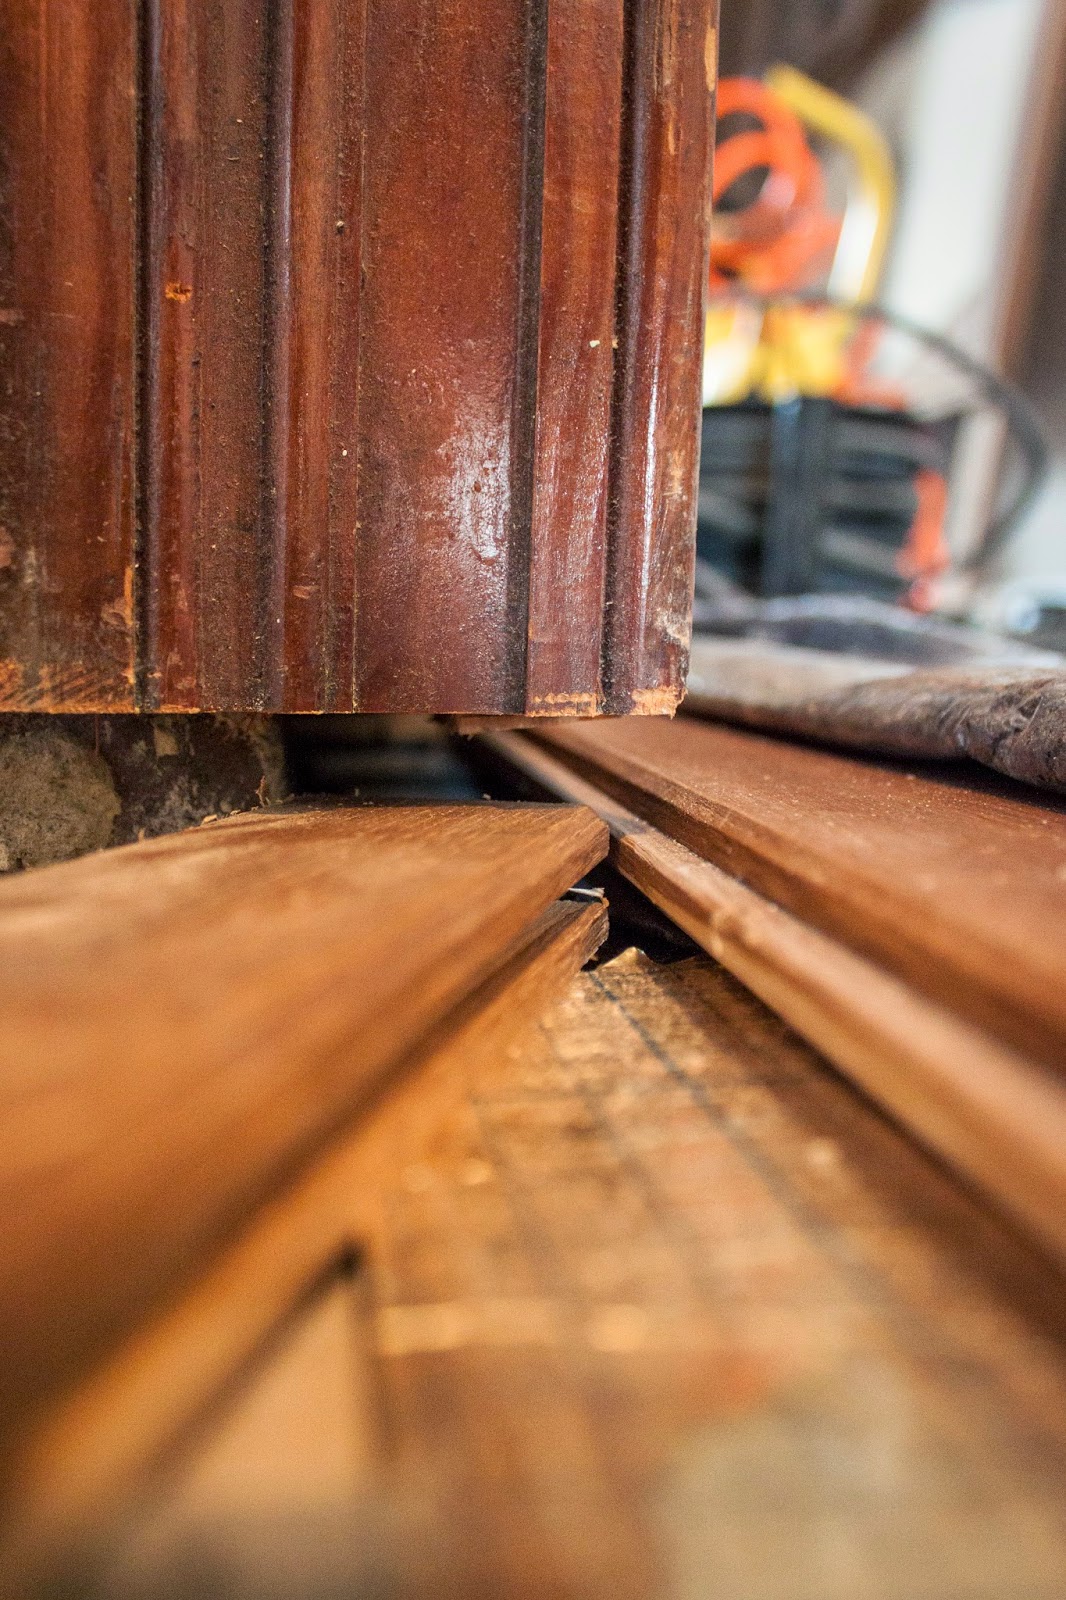 |
| Board under the door frame (more about that below) |
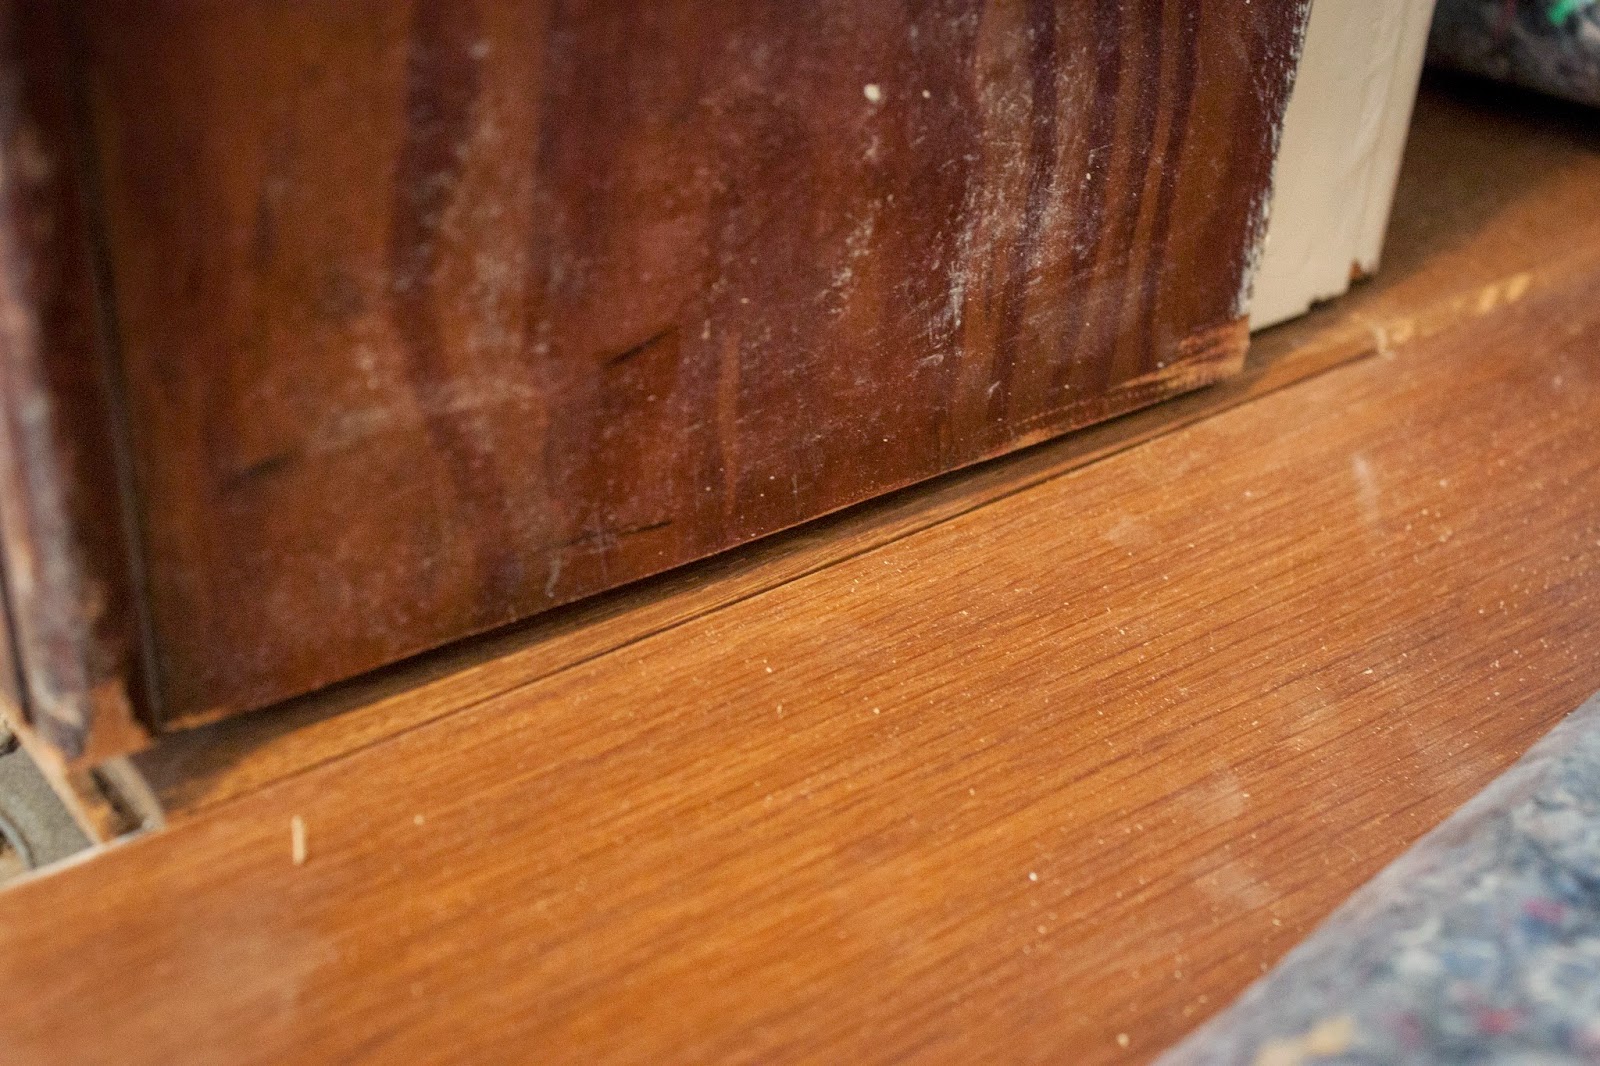 |
| Board (bit) under the door frame |
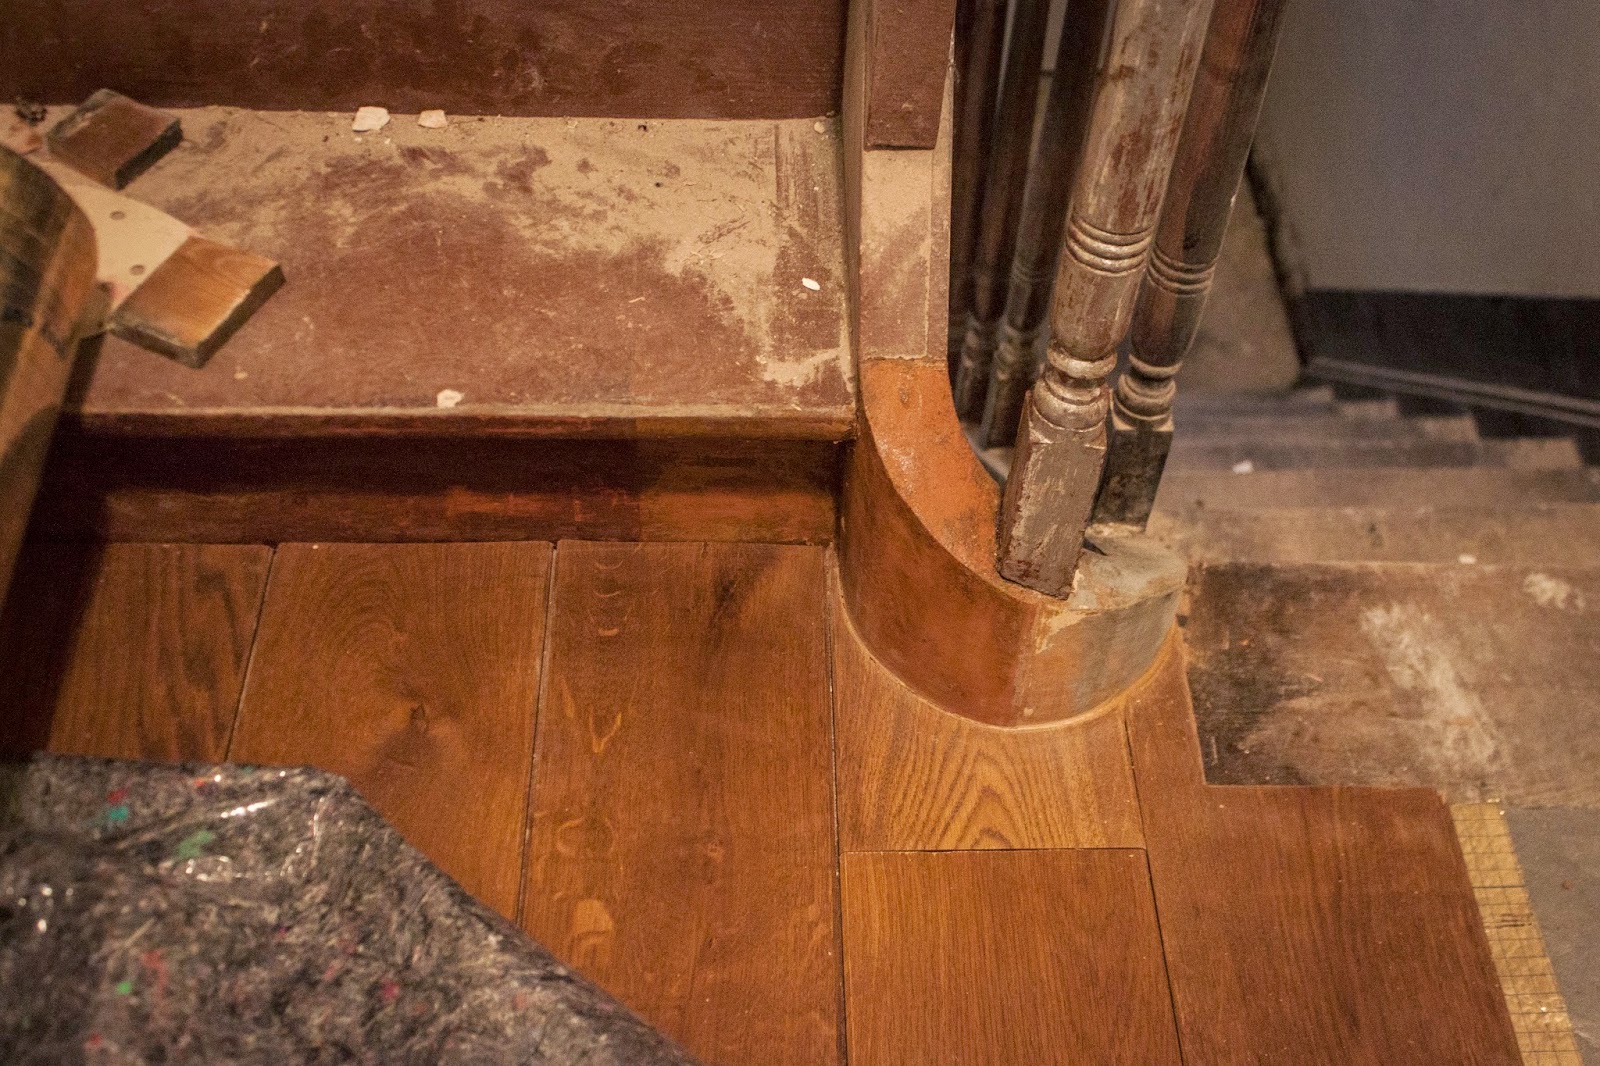 |
| Puzzling around the staircase, more below |
 |
| Putting boards in place |
 |
| Closer to the finish line - many floorboards are dusty... |
With such a grimy house all around, we don't want the floorboards damaged with the crap we carry in our shoe soles, etc, so we covered them with a thick felty thing (which is nice and lined with plastic on the underside) as we went. And it is going to stay that way until things clear up a little.
 |
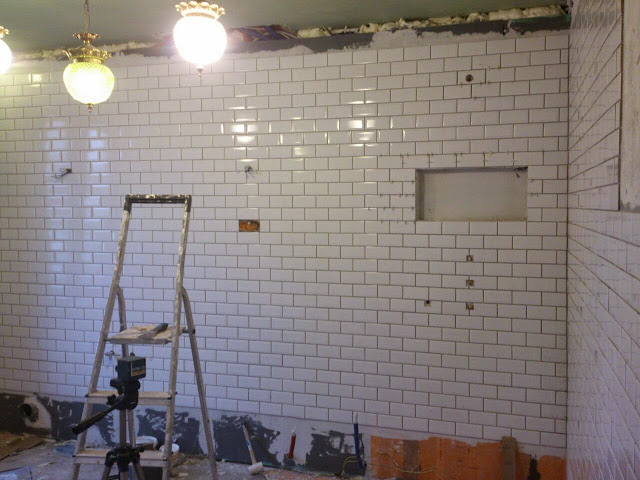
| A more general view |
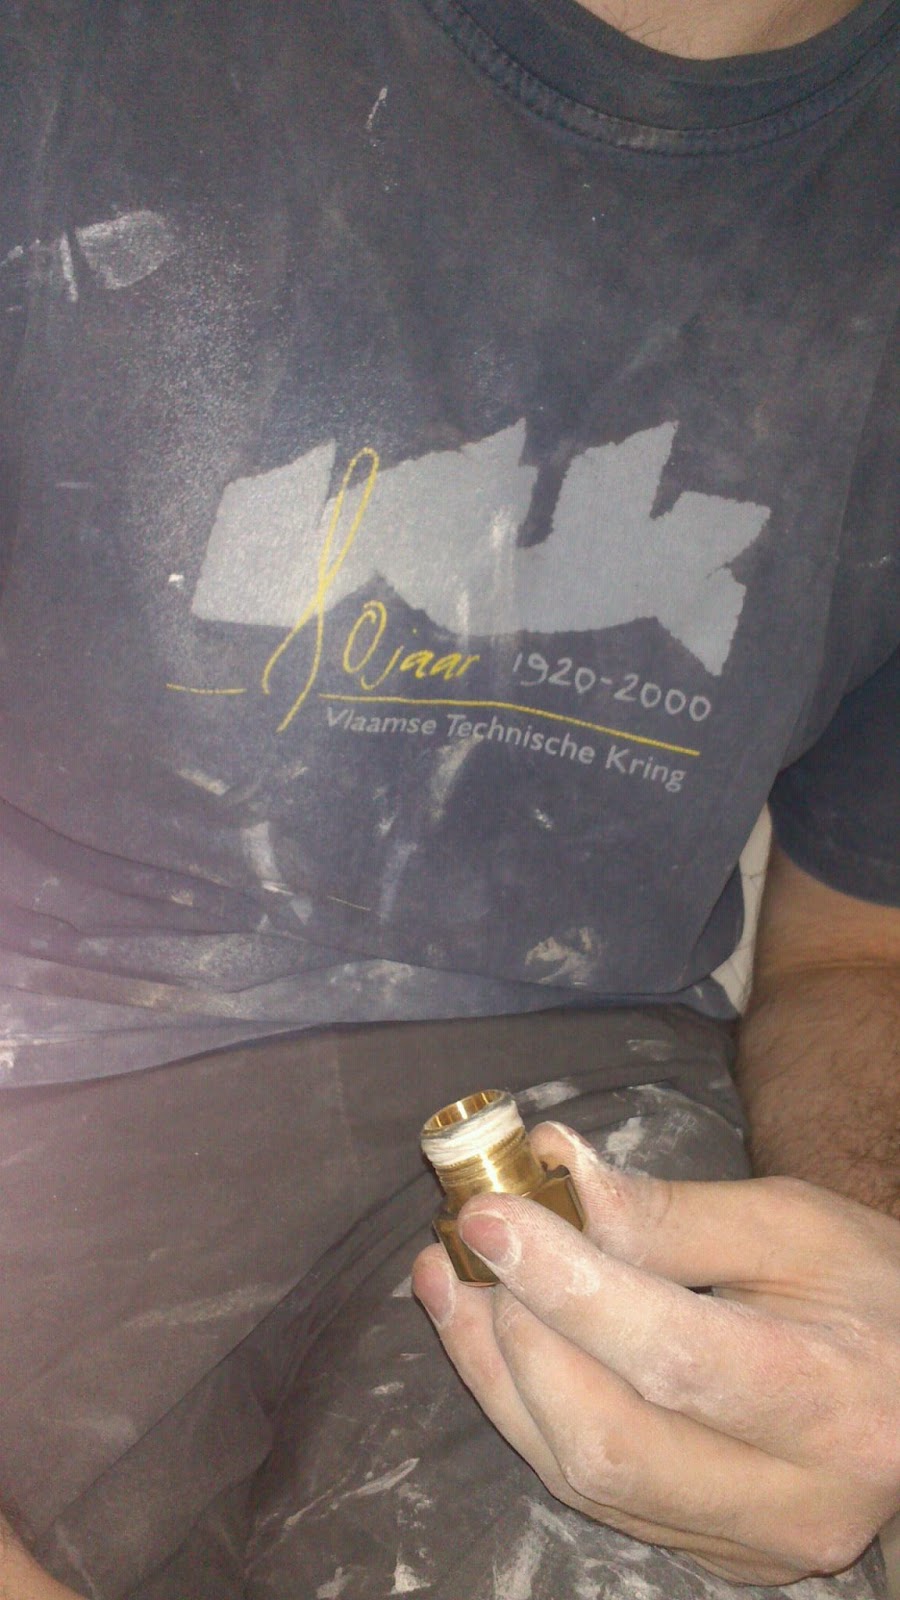
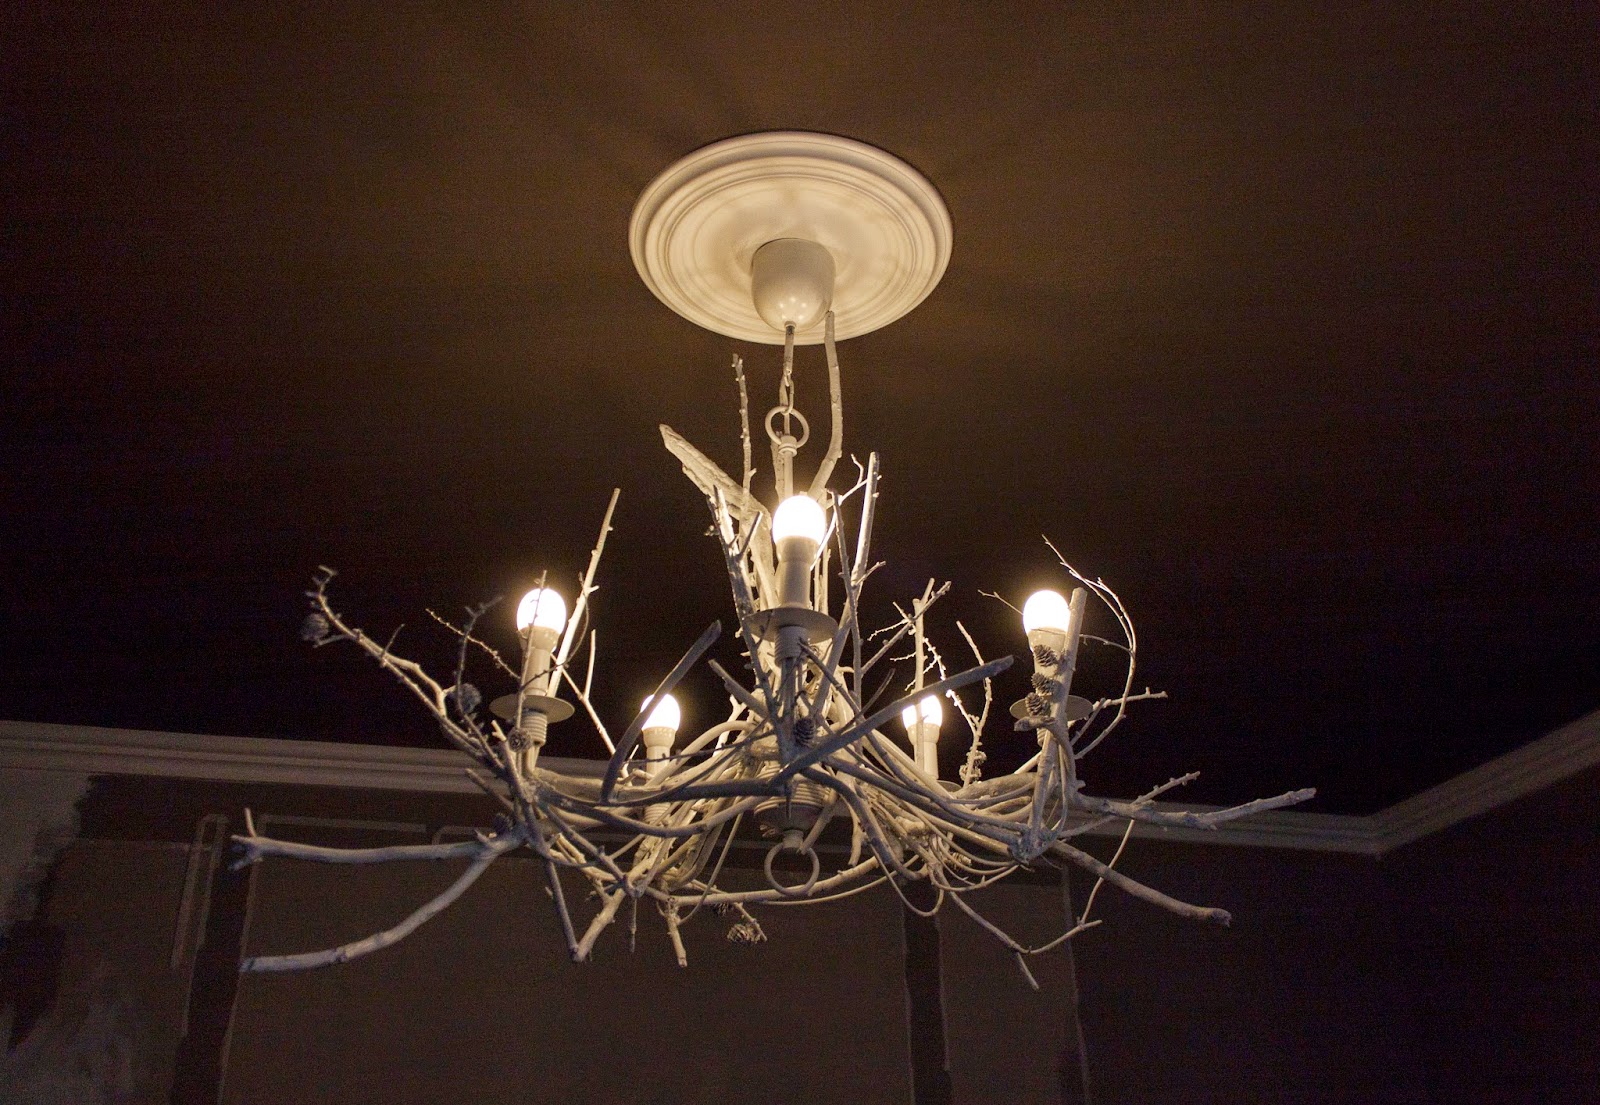 |
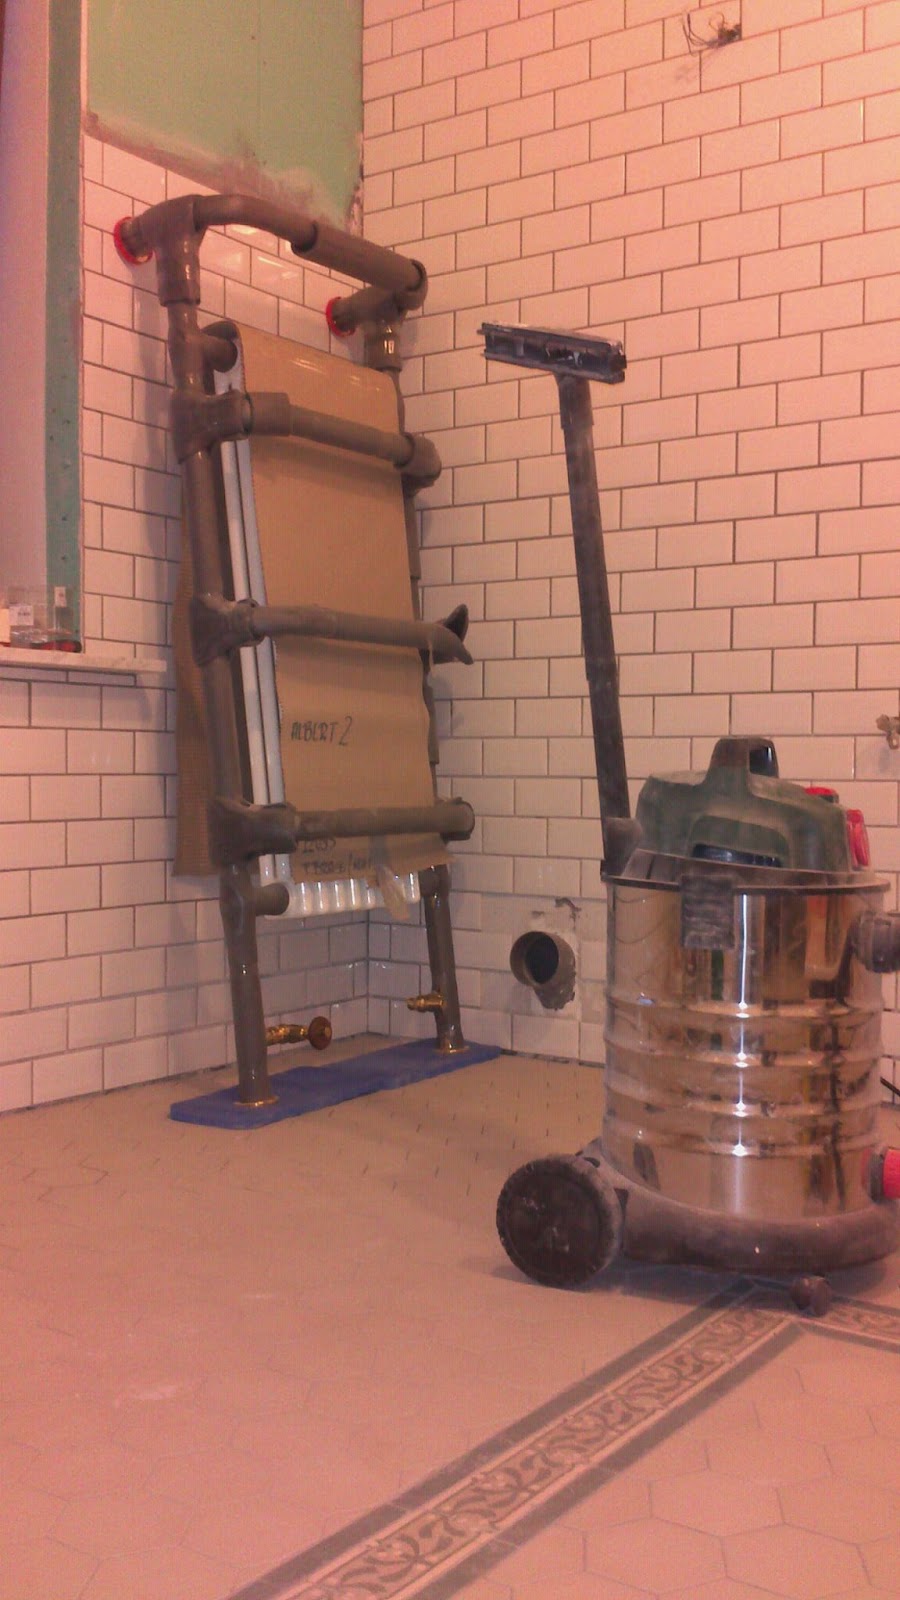
| What is this thing? more on that later sometime |
 |
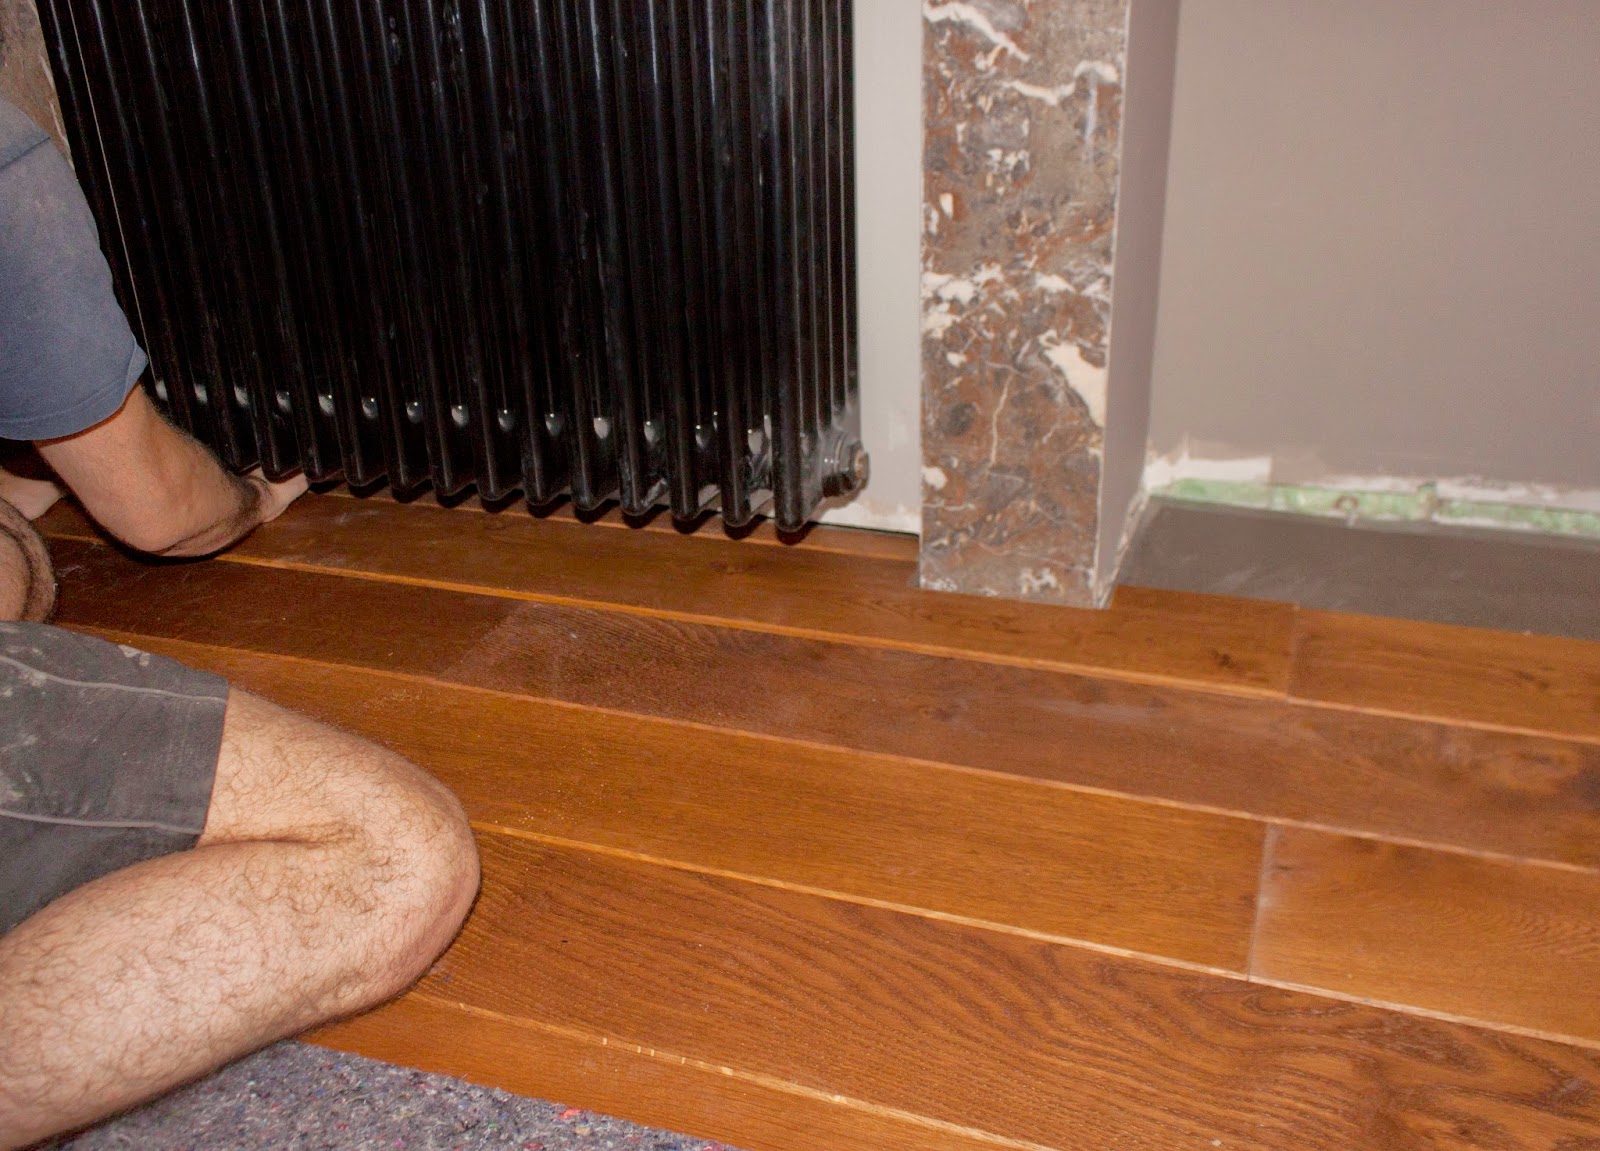
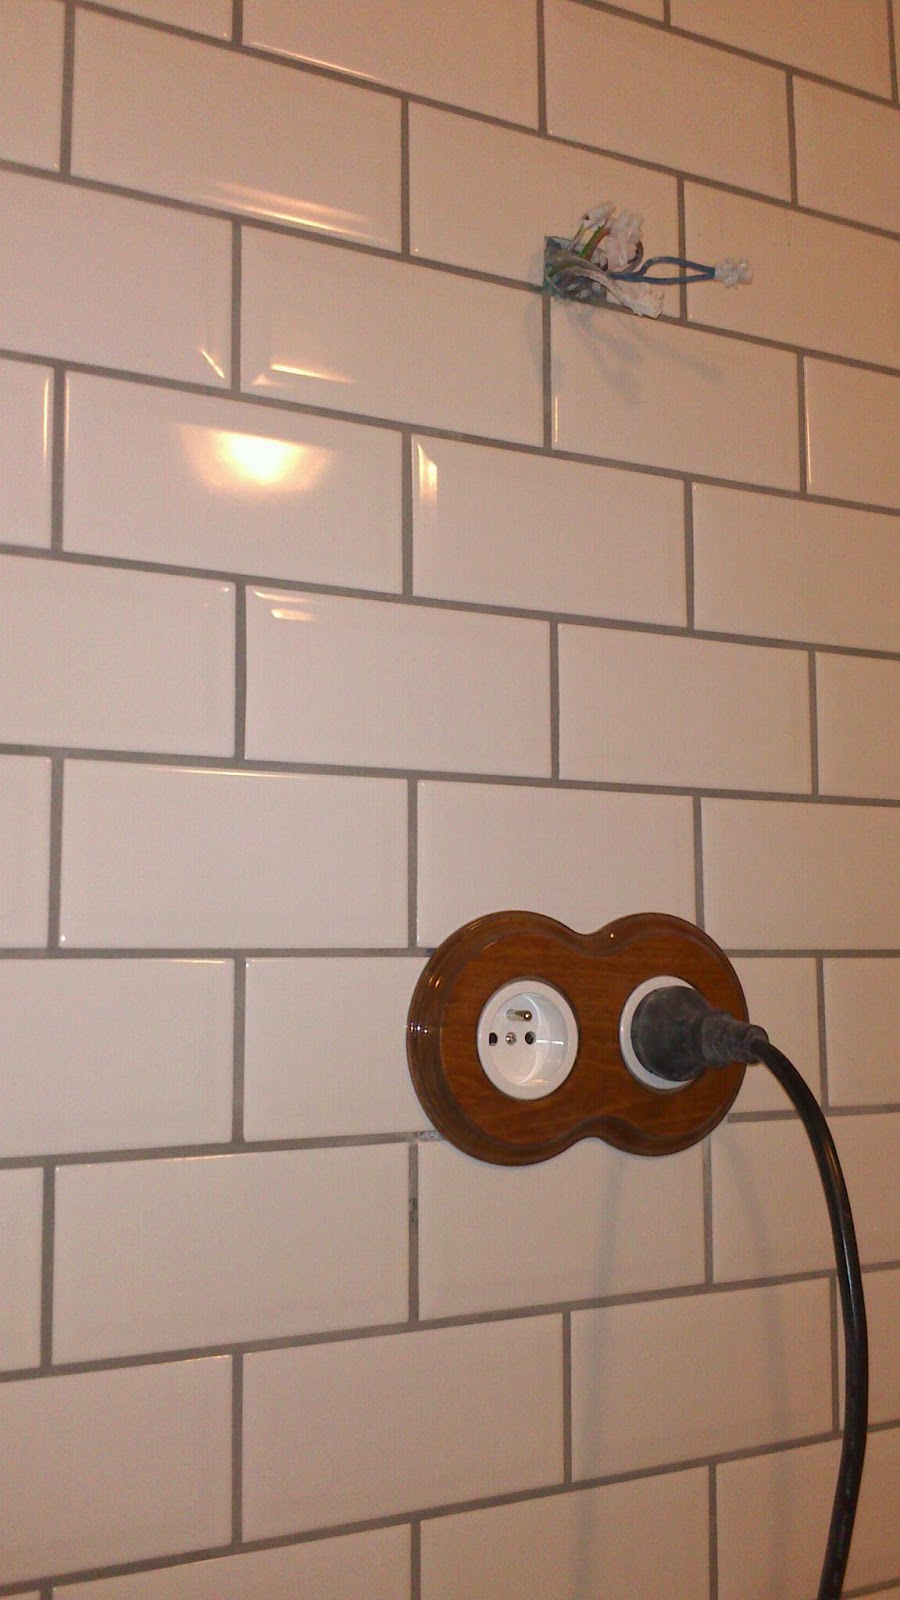
| The vanity corner |
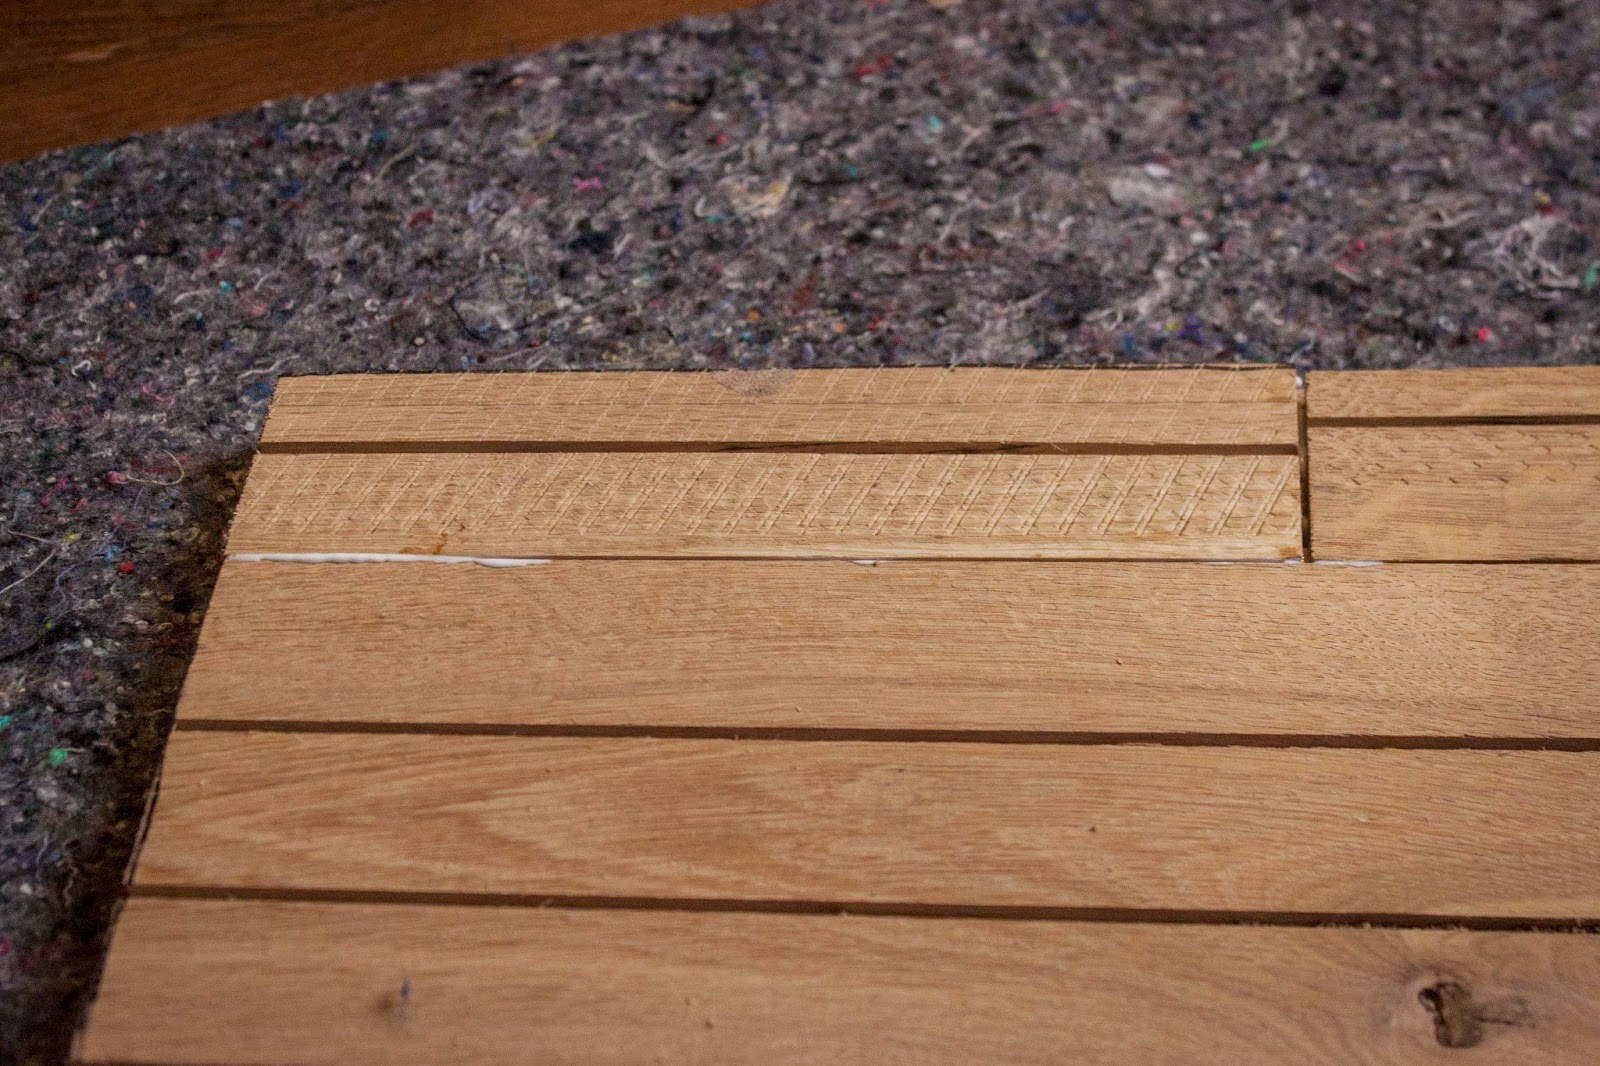 |
| Glued bits |
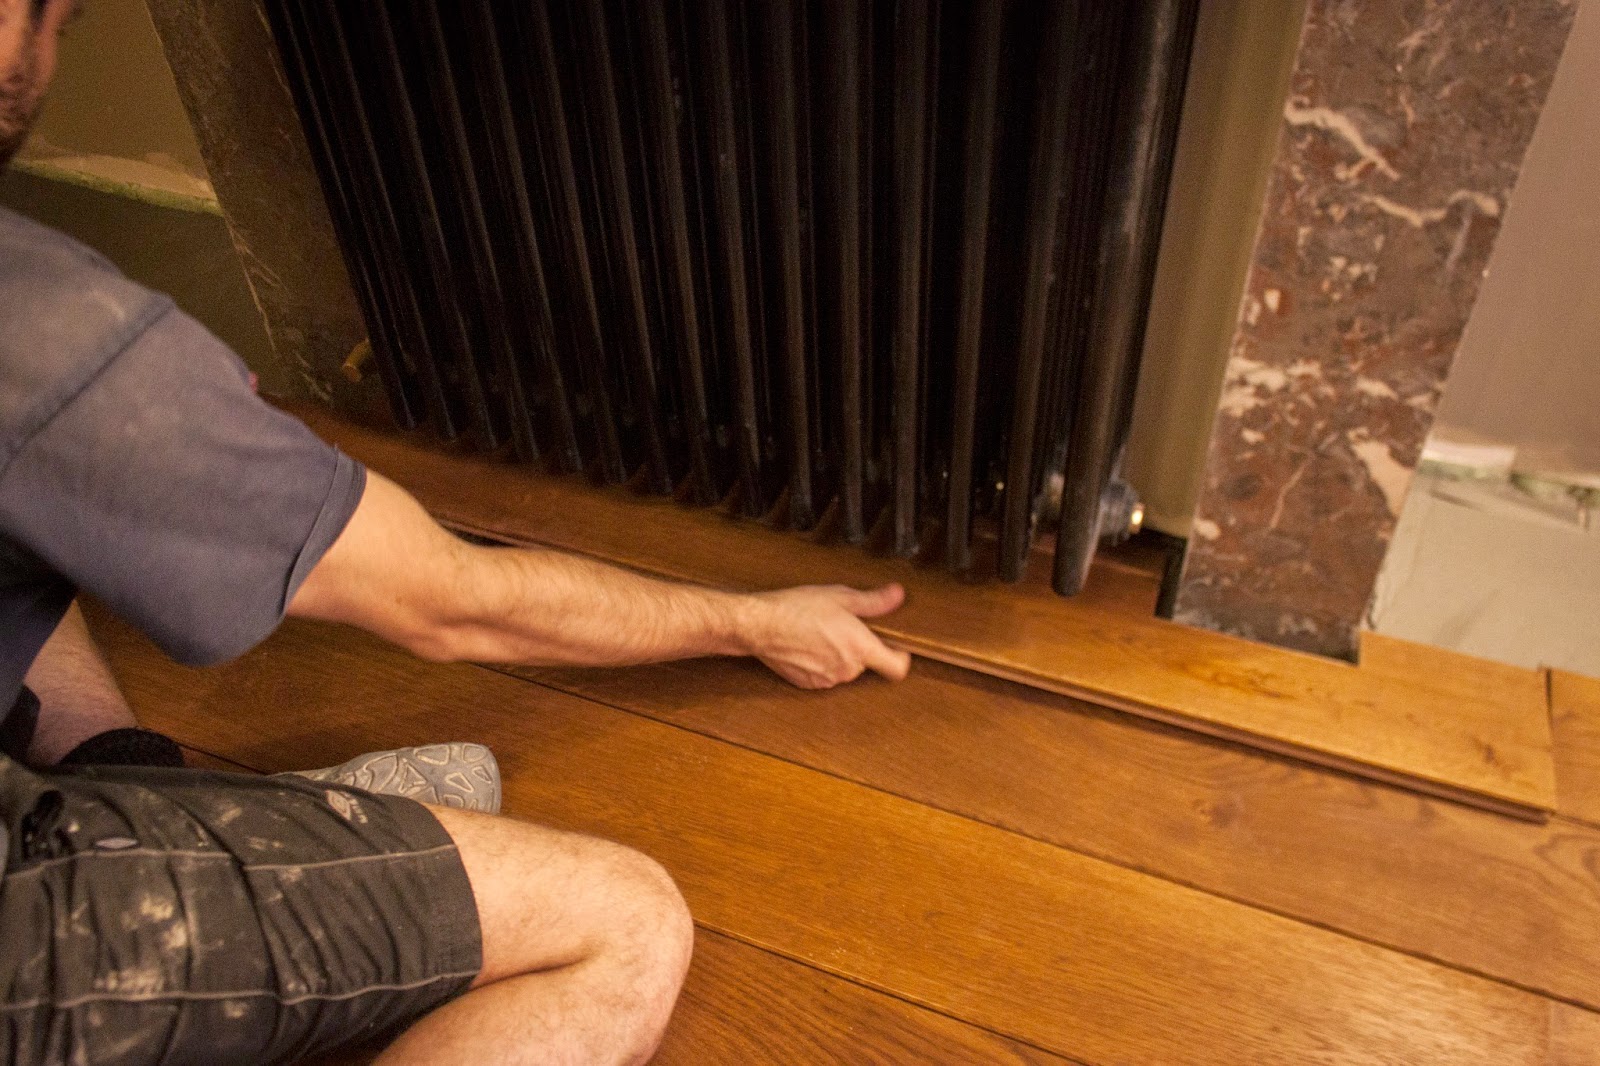 |
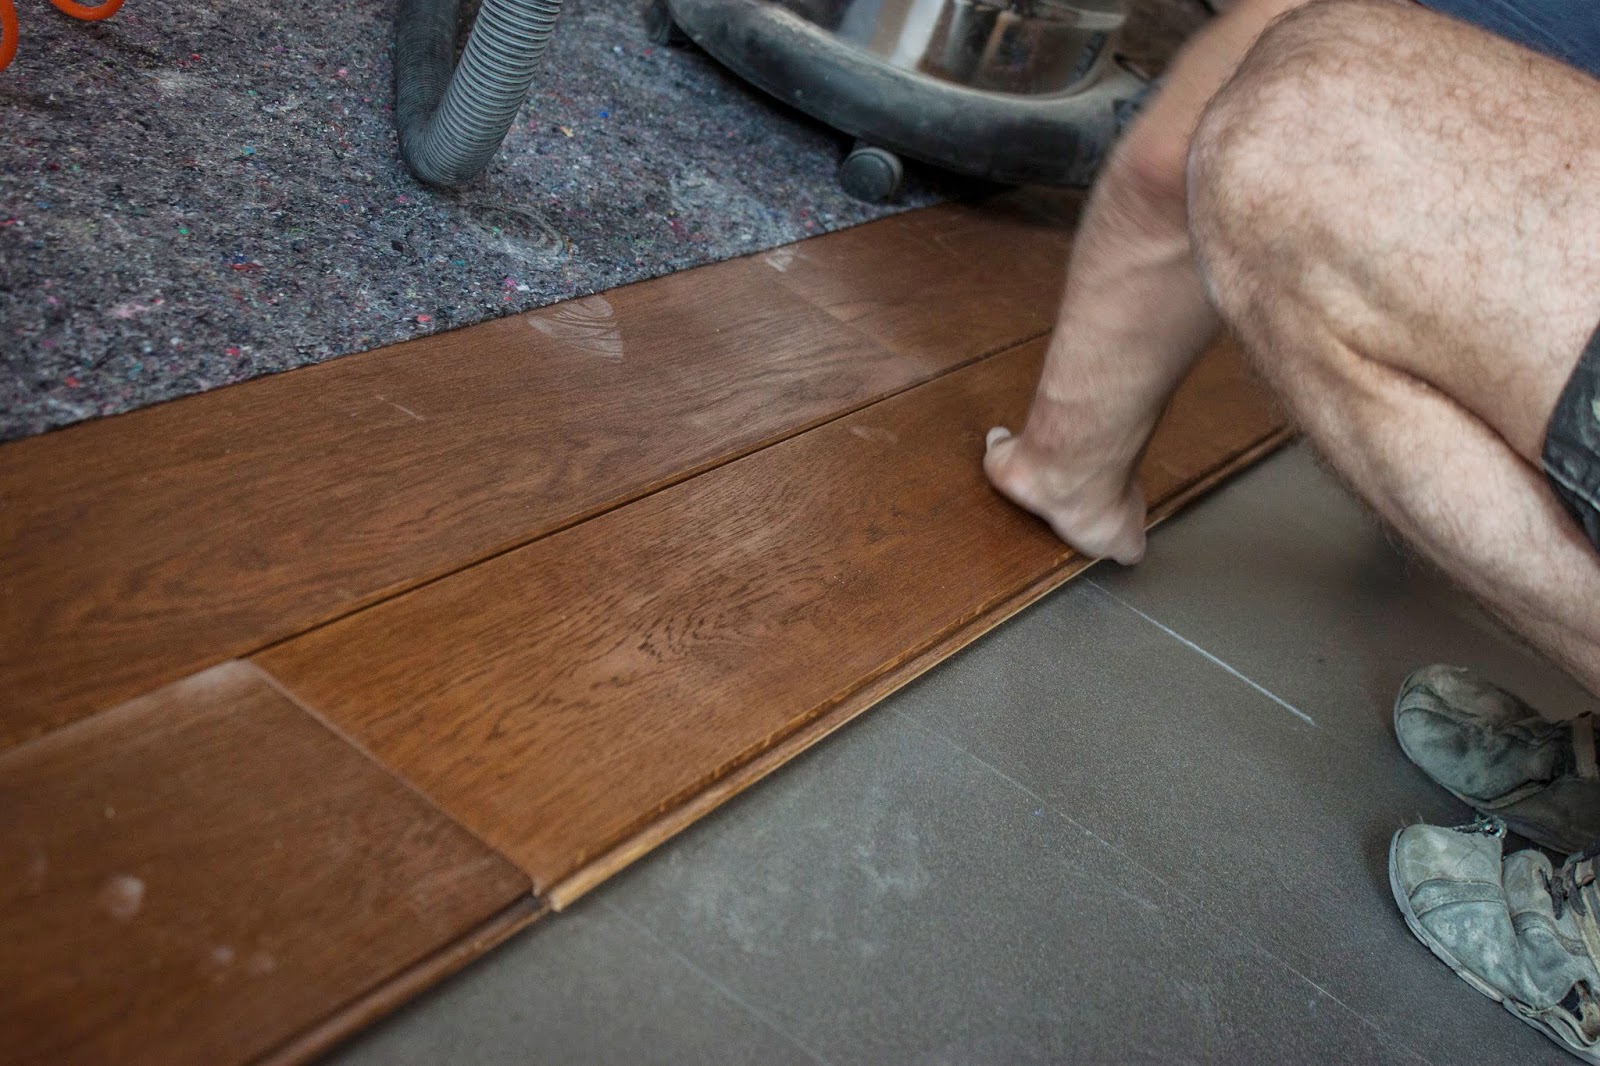
| The most challenging part in the bedroom (which wasn't very challenging) |
 |
| No hammering or nailing here, you push with your fingers |
 |
| Last bits, these strips are just glued with white wood glue |
Some pictures from Friday and Saturday, these were taken with my phone, so they're quite terrible:
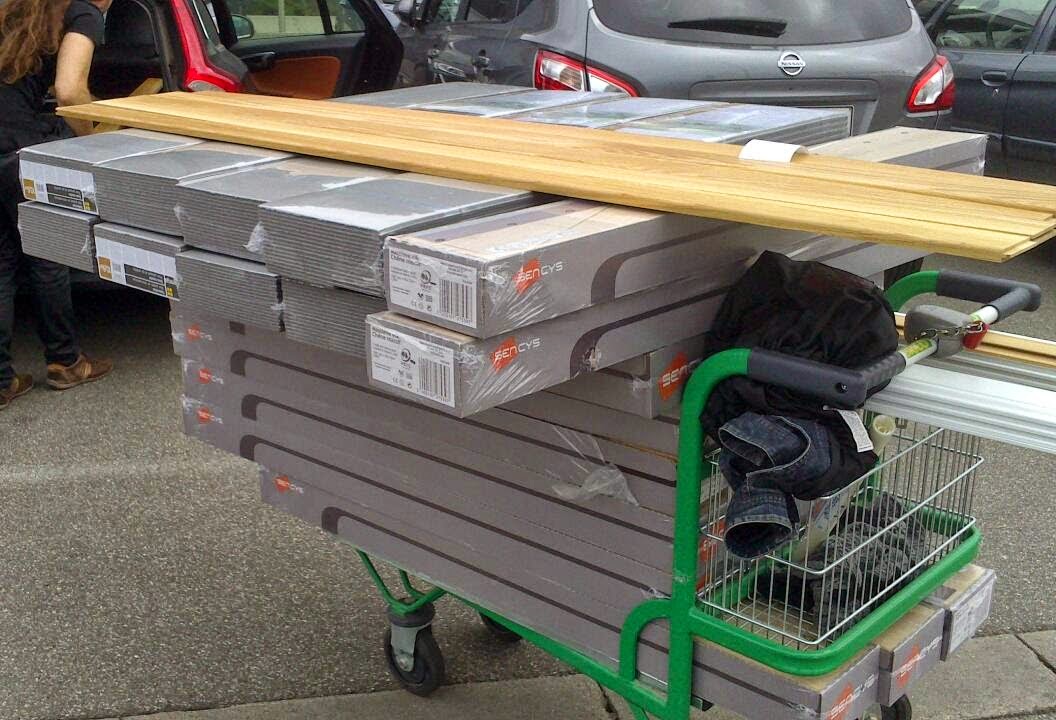 |
| Wood haul |
 |
| Cutting the door frames to measure |
 |
| Great saw |
 |
| Frame leftover |
 |
| Pim helping me with the frame |
 |
| Cut to measure board under the frame |
 |
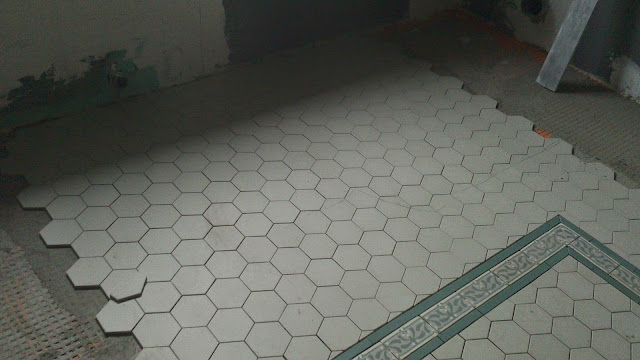
| Making sure the first line of boards is straight with the tiling laser |
 |
| Cutting a template out of paper |
 |
| Mitering tool from the 70s or 80s |
 |
| Plint testing |

